Cheesy Arancini…Italian Rice Balls
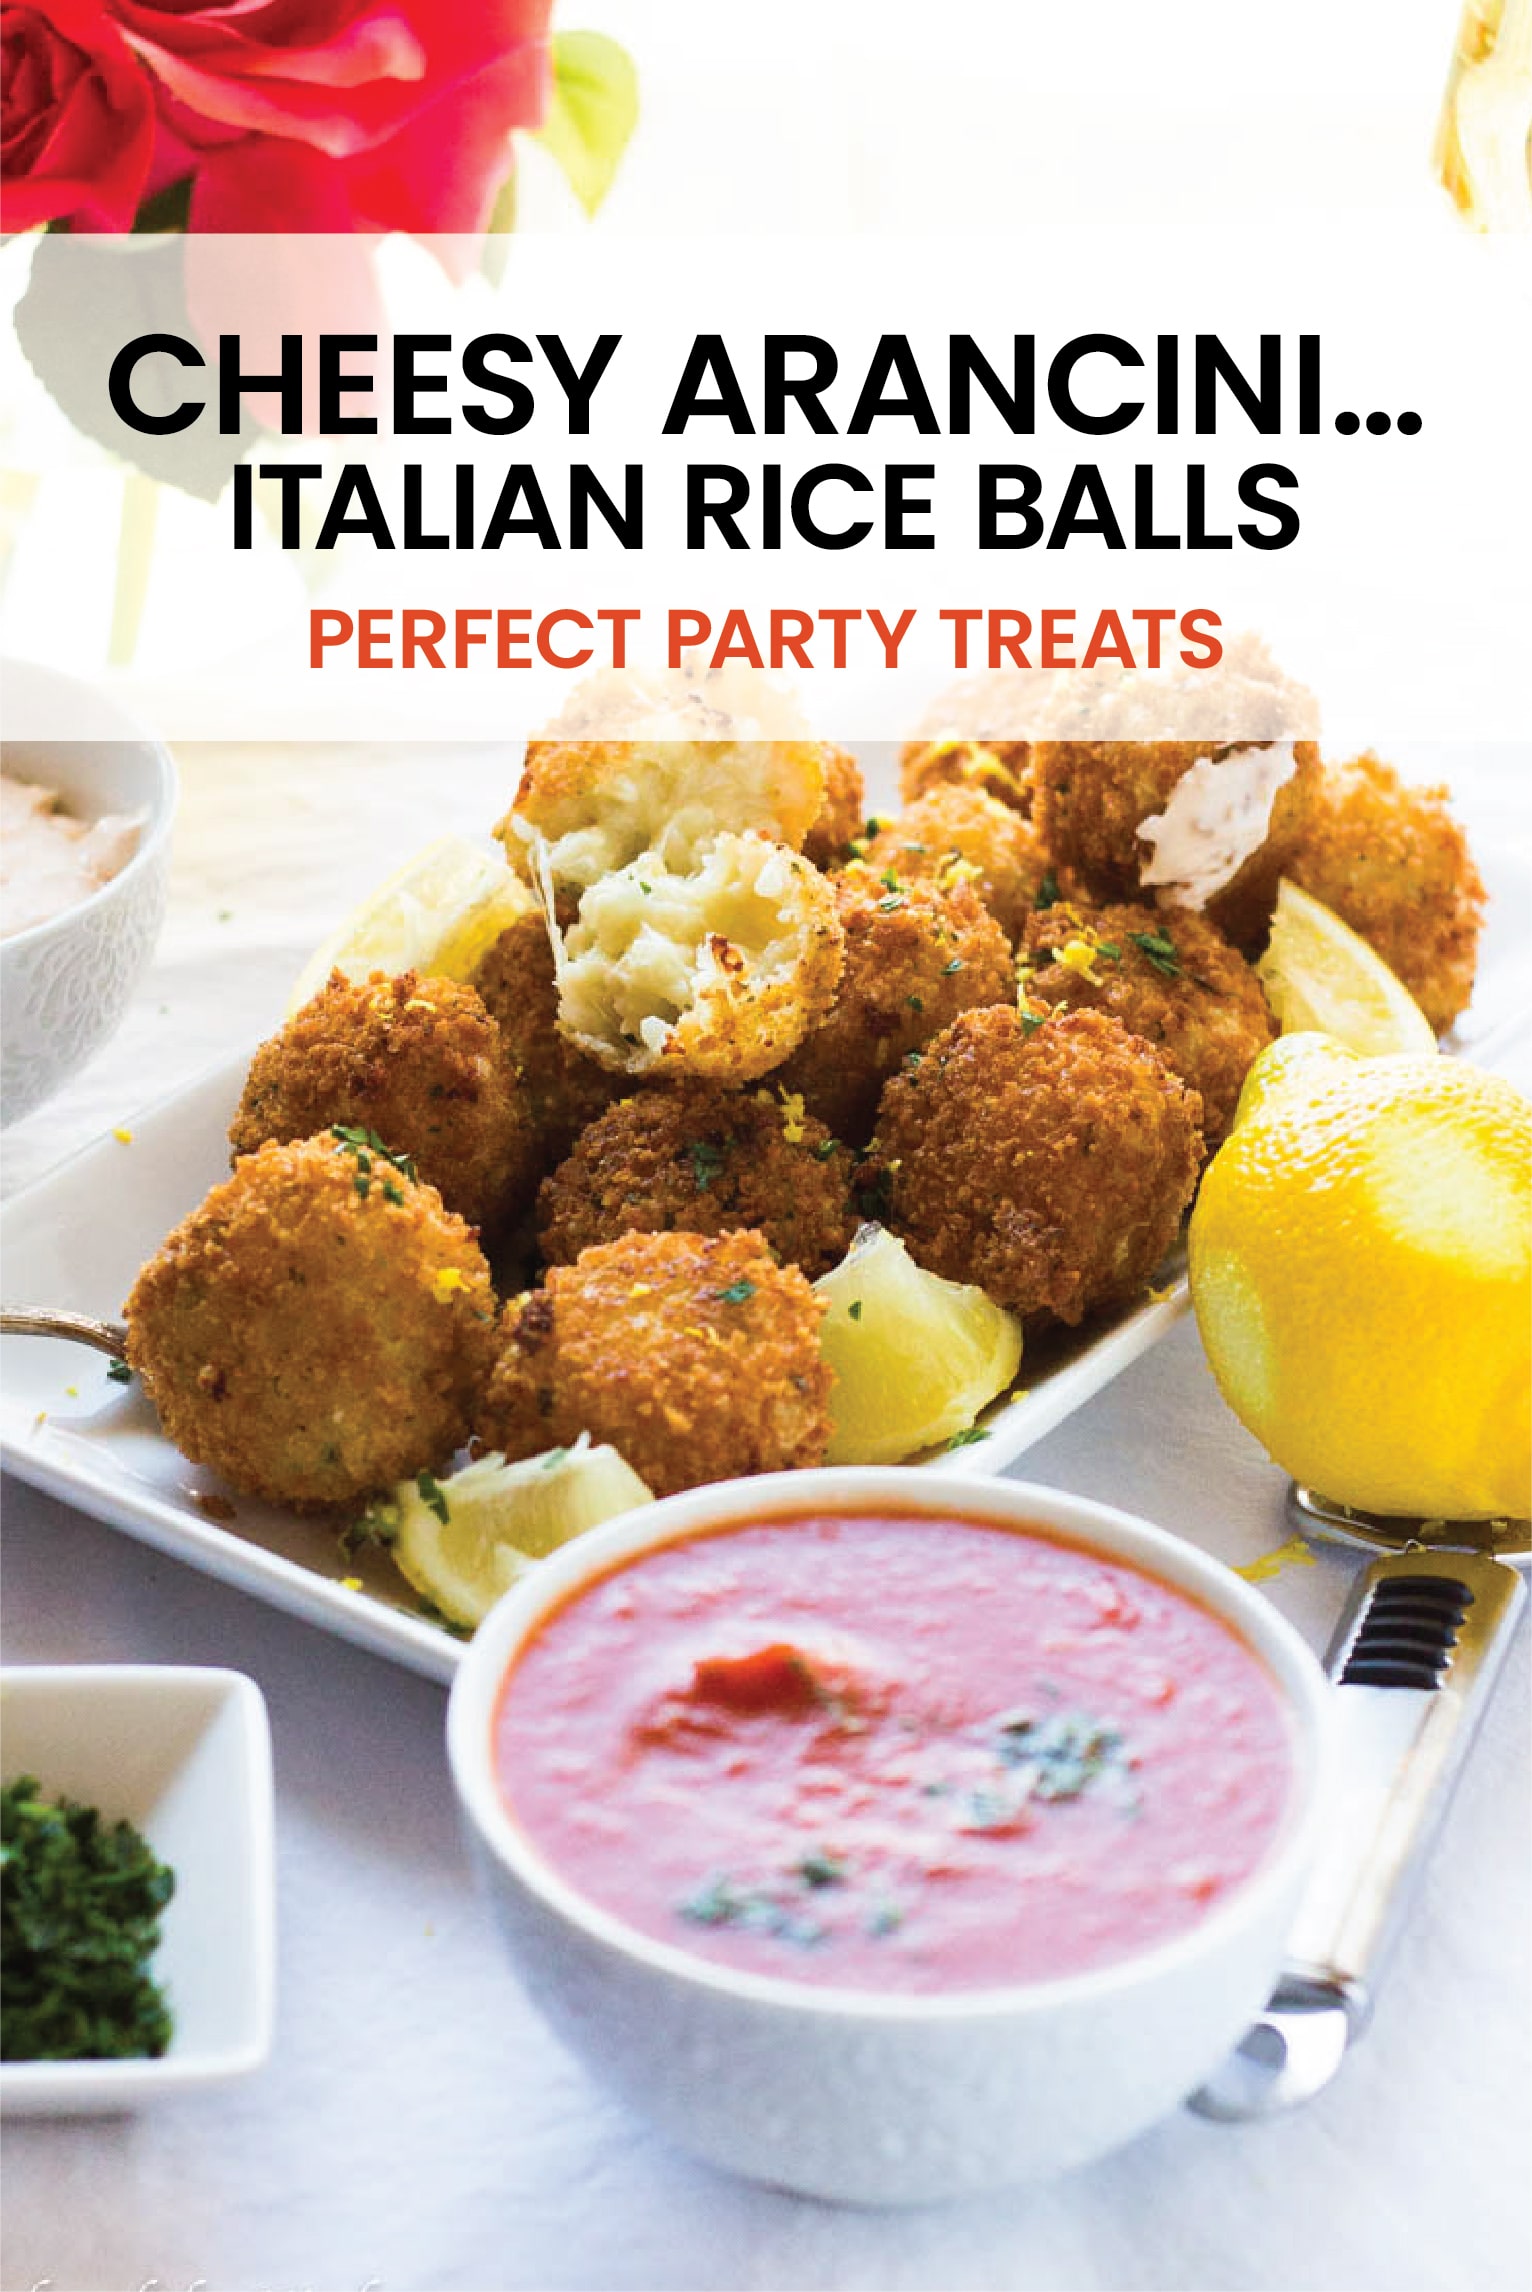
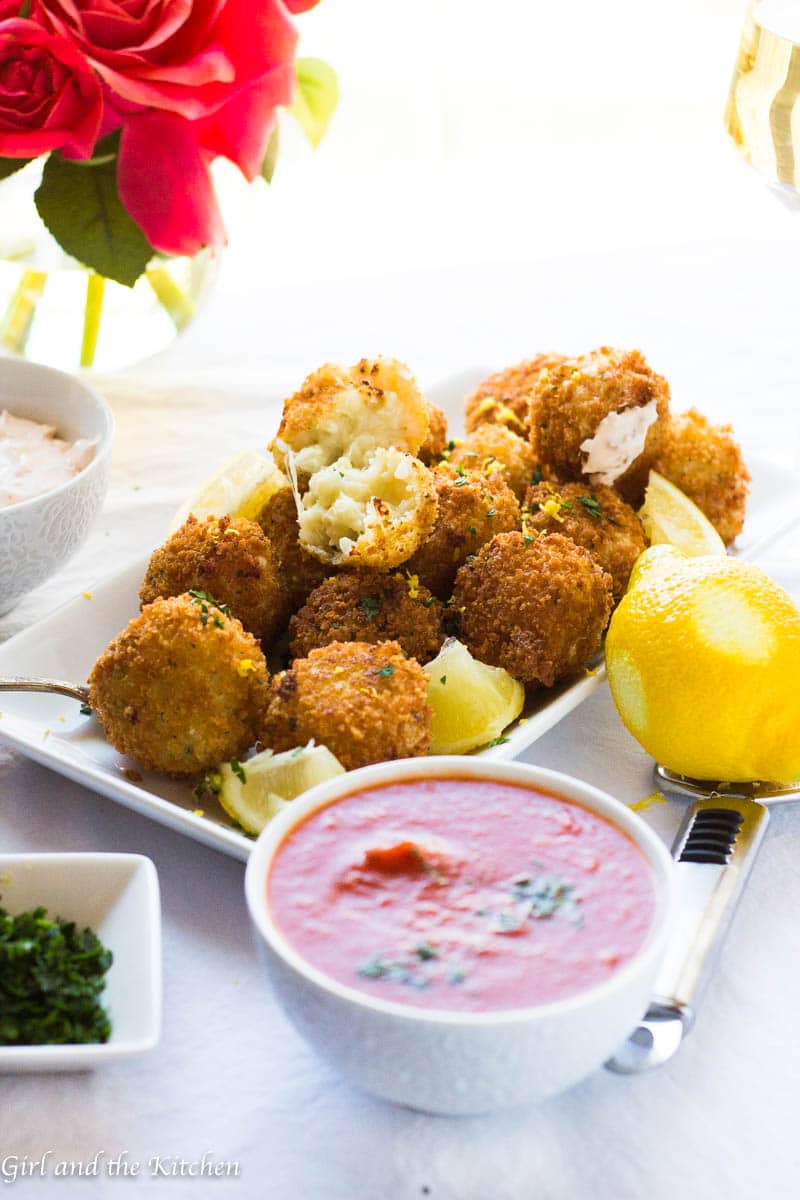
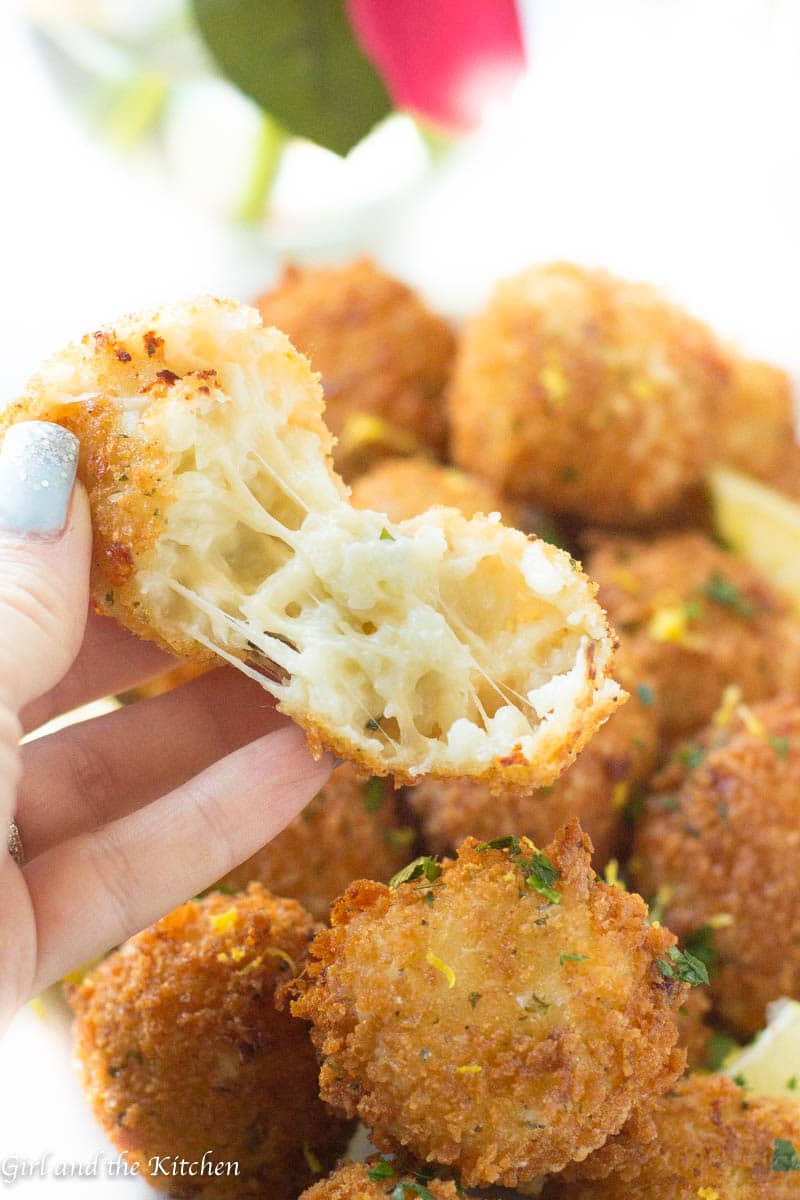
These incredible little Italian Rice Balls are loaded with cheese and make perfect party treats! Loaded with plenty of cheese and tender risotto these crispy little balls of flavor are best freshly fried but best of all they are just as good made ahead and reheated!
[wprm-recipe-jump]
One of the best things I have ever eaten was arancini (In Italian it mean oranges because they are the typically the size of little oranges, more like mandarines.). I was a waitress at an Italian restaurant putting myself through college and prior to a crazy dinner rush they introduced the appetizer of the night. I stared at these gorgeous little golden, crispy balls and waited for the chef to finish talking about them until I could pop them in my mouth. Apparently last night’s risotto special was now our base for tonight’s appetizer special…AKA these cheesy arancini or gourmet Italian rice balls.
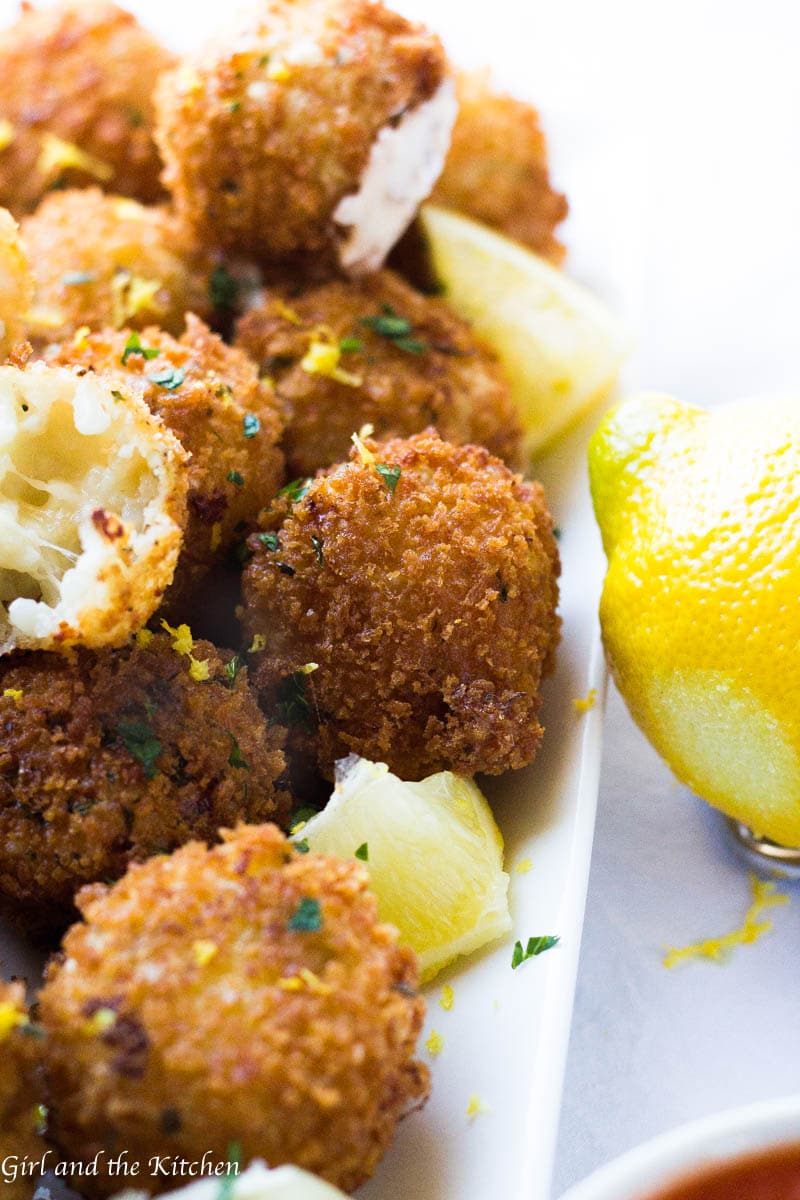
That was it…as soon as I put those crispy rice balls into my mouth, I knew I had discovered one of my favorite foods. And I made it my goal to come home and recreate this dish ASAP. My only issue was that even as a culinary school graduate I was TERRIFIED of deep frying in oil at home. At school it was always simple we had a deep fryer that was safe and I did not need to worry about the oil splatters or the disposal of the oil…I just got to eat the delicious crispy food.
But I decided that I would get over my fear and had a recommendation from my chef to use a shallow pan for the arancini instead of a deep pot. His suggestion worked! I used a heavy yet shallow pot and poured in an entire bottle of vegetable oil. And before I knew it I was happily frying my little breaded rice balls of heaven. And because my risotto base was so delicious, the arancini were just as magical.
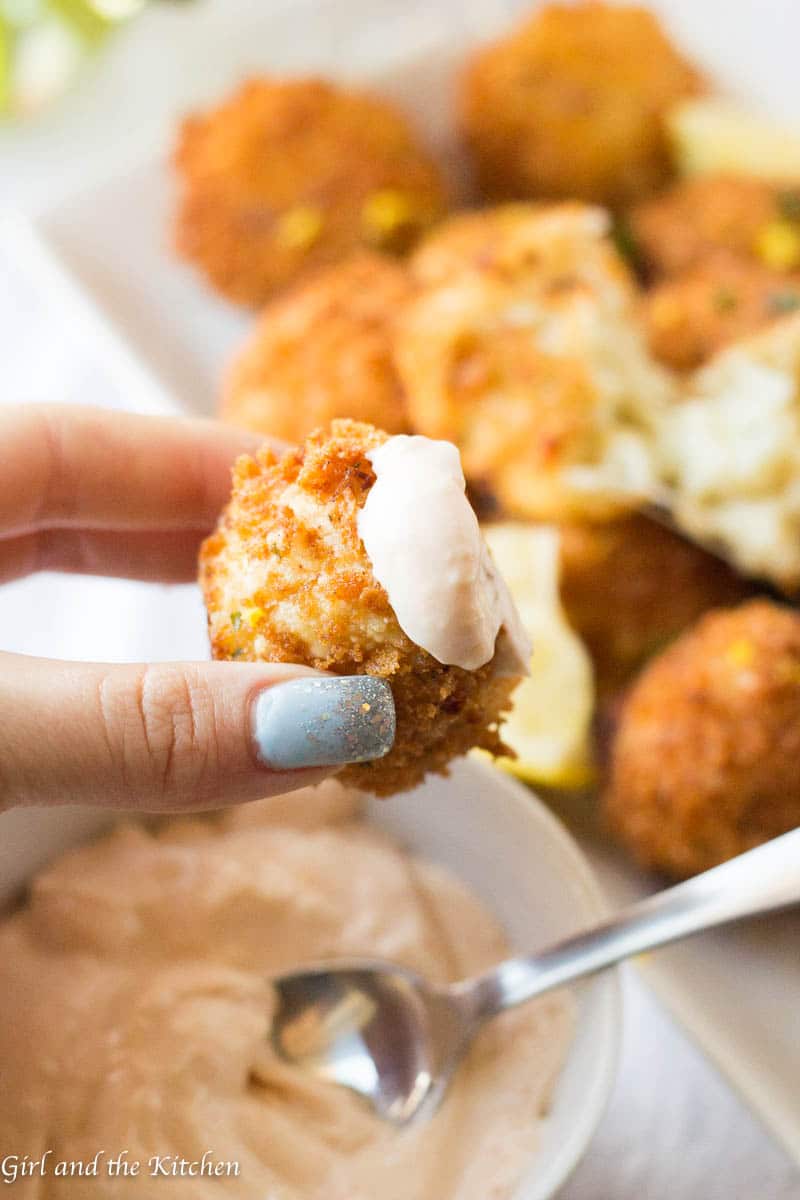
More recently I made these gorgeous little arancini for a swanky dinner party we were invited to. I made a triple batch the day before and froze half, the other half I placed into the fridge to take to the party. Once we got to the party, I reheated them in the oven and served them up with my classic marinara and for a fun twist I added my chipotle aioli as a dip as well.
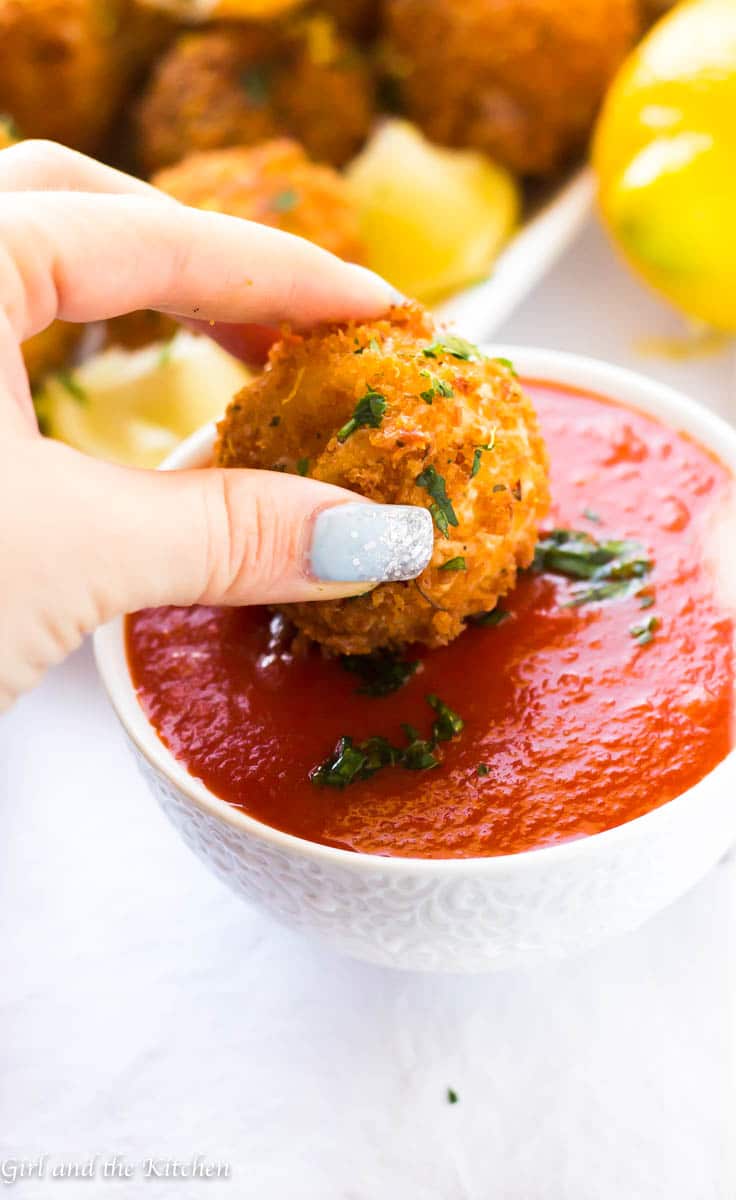
I adore these little bites of heaven because they are so fun to make with a group of friends or with the kids. Just scoop, bread and fry. Then freeze them for a later party!!! It’s the ultimate party food to make ahead that retains its crunch even after being reheated in the oven! The technique is beyond easy and naturally the results are RIDICULOUSLY delicious!
THE TECHNIQUE
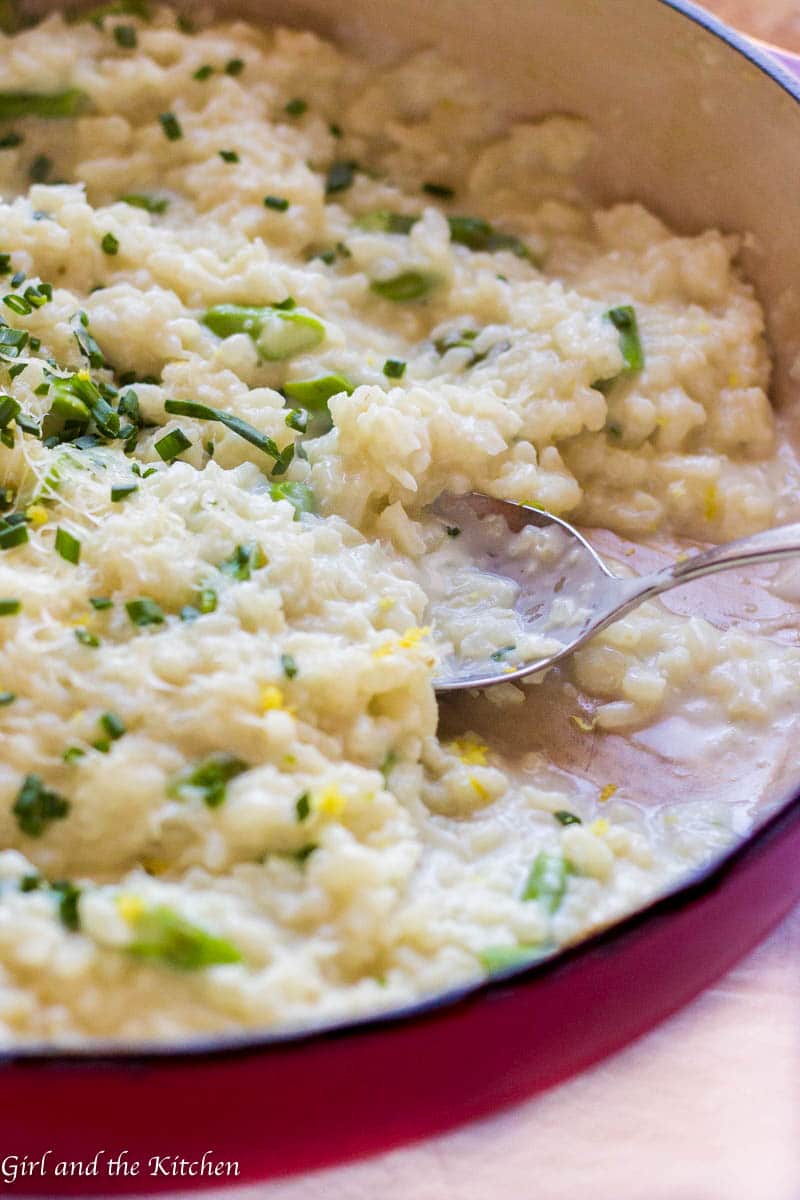
- The Risotto: The risotto is super important because this is clearly your flavor base. Using my Super Creamy Parmesan Risotto recipe you will get the best of both worlds because it is seriously flavorful but also it features a no-stir method that will speed things up as well as simplify them. Feel free to flavor it with anything you would like, but honestly the simpler the better.
- The Cheese: There are so many recipes out there that show cubes of cheese stuffed into the ball of risotto. This seemed to cumbersome for me. So…instead I just added in plenty of Mozzarella and Parmesan cheeses to create a gooey and cheesy center. And gooey and cheesy it was 🙂

- The Breading: The breading is super classic here. We start with flour, eggs and finally panko bread crumbs. Of course make sure that each is seasoned really well with salt and pepper. That way each layer of the rice ball is wonderfully flavored and perfectly crispy.
- The Frying: I know the whole idea of deep frying at home can be intimidating. But when working with little balls like this, you do not need a deep pot of oil. A shallow pan with a heavy bottom will do just fine. I like to get my oil to about 350-degrees and I use a regular thermometer to check the temperature. Another way to check the temperature is to put a few bread crumbs into the oil, if it bubbles then it’s all set. I like to use a slotted spoon or a spider to turn these rice balls in the oil. They only take a few minutes on each side to cook. As soon as they are golden brown on one side, go ahead and flip them onto the other side. Remember the second side will always cook faster than the first. And make sure you have a towel ready to place the rice balls on. The towel will soak up all the excess oil and leave the rice balls super crispy.

- Finishing Touches: I love serving these up with fresh lemon zest and some lemon slices. I always feel that lemons brighten up any fried food and take them to a whole other flavor dimension. I also sprinkle on some freshly chopped parsley for color as well as a fresh finishing touch. I served them up with my classic freezer friendly marinara as well as a chipotle aioli for a fun and spicy twist!

- Freezing and Heating: Once the arancini are fried you can serve them up with your favorite sauces. Just make sure you make a double or triple batch because these babies freeze up beautifully. If you freeze them make sure you do so on a sheet pan so they do not stick together. Once they freeze you can move them from the sheet pan to a Ziplock bag. Once reheating them, simply preheat the oven to 400-degrees and allow them to come to temperature, about 18-20 minutes!
- Disposing of the Oil: One of the most common questions I get is how too dispose of hot oil. Well for starters you do NOT DISPOSE OF IT WHILE HOT. I had a client dispose of hot oil while into their sink…guess what happened? The hot oil hit cold water that remained in the disposal and literally PROJECTILED UP back at her face! She had to go the ER and get treated for second degree burns. Her comment to me was, I should have asked you how to dispose of it. Lesson learned right? So the best way to get rid of the oil is to wait until it cools and then pour it into the same bottle you got it out of, close it with a lid tightly and dispose of it with the rest of your garbage. NEVER put it down your drain.
I made a few batches of these adorable arancini last week so I could photograph them and ate 8 by myself! So I quickly wrapped them up and took them to the in-laws house. I warmed them up in the oven and watched as they devoured them…my munchkin included. Crispy goodness that pleases all sorts of appetites? That’s my kind of goodness 🙂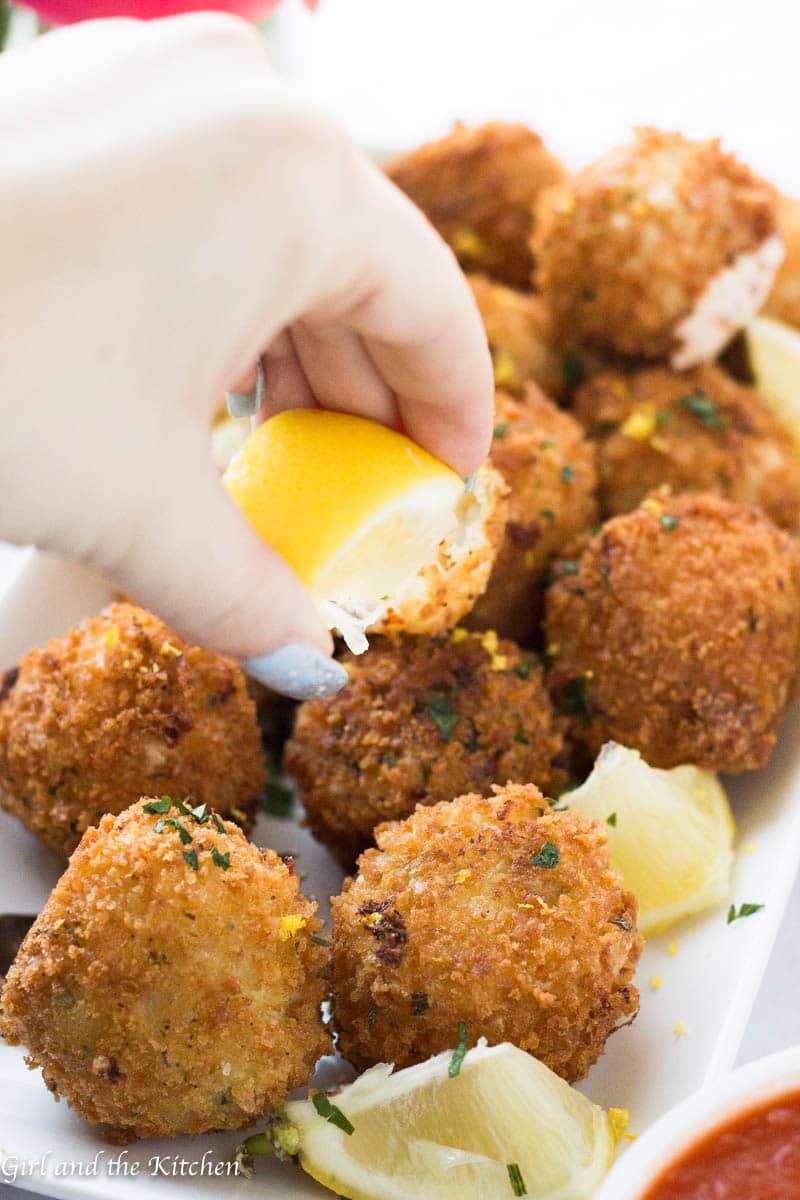

Cheesy Arancini…Italian Rice Balls
- Total Time: 135 minutes
- Yield: 25 pieces 1x
Description
These incredible little Italian Rice Balls are loaded with cheese and make perfect party treats! Loaded with plenty of cheese and tender risotto these crispy little balls of flavor are best freshly fried but best of all they are just as good made ahead and reheated!
Ingredients
Arancini
- 1 recipe of my Super Creamy Parmesan Risotto
- 1.5 Cups Grated Mozzarella
- 1 Cup Grated Parmesan
- 1 Egg
- 2 tbsp finely chopped parsley
- ½ cup plain flour
- Salt
- Black pepper
Breading and Frying
- 2 eggs
- 2 cups panko breadcrumbs
- 1 48 oz bottle of Vegetable Oil
Dips
- Marinara
- Chipotle Aioli
Garnish
- Chopped parsley
- Lemon Zest
- Lemon wedges
Instructions
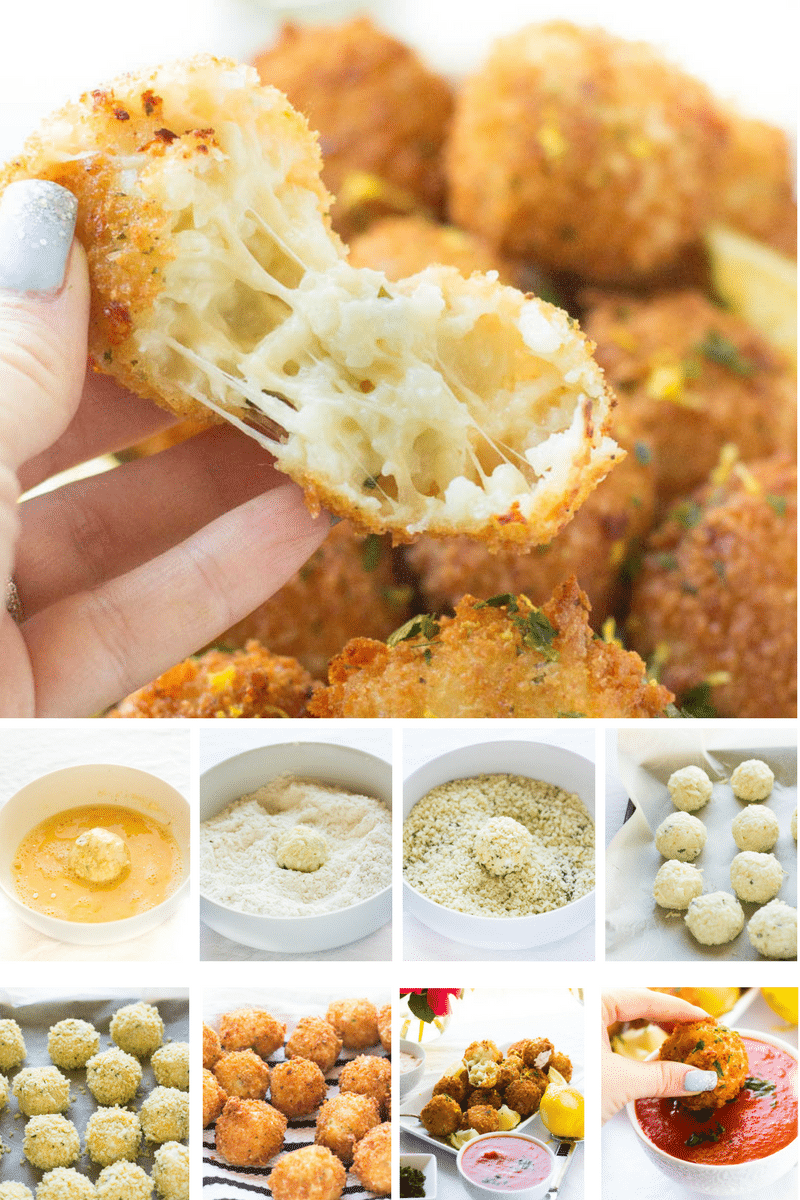
- Combine COOLED risotto, Mozzarella cheese, Parmesan cheese, egg and parsley in a bowl just until everything is mixed through. If the mixture is not sticking together just add in some breadcrumbs one tablespoon at a time.
- Place some parchment paper on a medium size baking sheet and start scooping the risotto mixture onto the baking sheet so that you have nice balls. You may need to roll the balls a bit in your hands to keep them from sticking to your hands. I find that scooping them with anice cream scoop is the most efficient!
- Pour the whole container of oil into your pan. Start heating it up to 350 degrees or until a few bread crumbs turn brown. DO NOT GET RID OF THE BOTTLE.
- Season the flour, egg and Panko breadcrumbs with salt and pepper.
- Roll the balls in the flour first, then eggs then breadcrumbs.
- Place onto the same sheet pan in preparation to fry.
- Prepare a large plate covered with a clean dish towel or a few layers of paper towels to use after the arancini are fried.
- Once you have tested the oil and ensured it is hot enough, place the balls in carefully and allow to fry until golden brown each side will take about 2 minutes although the second side may very well go faster.
- Place the arancini onto the towel to drain off the access oil.
- Serve immediately with dipping sauces, some freshly chopped parsley, lemon zest and lemons.
- Let the oil cool and then pour it into the same bottle you got it out of, close it with a lid tightly and dispose of it with the rest of your garbage.
Notes
1. It is imperative to use the cooled rice because it gets perfectly sticky for the arancini. If it is still too wet just add in a bit of panko breadcrumbs at a time.
2. I used a 1.5 tablespoon ice cream scoop to make these arancini and I had 25. If you use a smaller scoop like a you will be able to get about 50 and they will truly be bite size.
3. You can bake these up. However, make sure that you spray both sides with plenty of olive oil so that they get gorgeous and crispy in the oven. Cook them at 400 degrees for about 10-12 minutes or until beautifully brown. They won’t be exactly the same as frying but are still delicious.
4. Make sure the risotto is chilled for at least 2 hours before making the arancini otherwise it will be too loose to form nice and solid balls.
5. If the balls stick too much to your hands while scooping, just wet your hands with a bit cool water.
- Prep Time: 120 minutes
- Cook Time: 15 minutes
- Category: Appetizer
- Cuisine: Italian
Pin For Later




These always come out wonderful and our whole family loves them! Thanks so much for the recipe. I make them using 2 heaping tablespoons of the mix for each ball and end up with about 40. I cook them in a deep fryer using either grapeseed oil or avocado oil. Cooking them in the deep fryer eliminates the need to turn them and they cook perfectly in 2 minutes.
★★★★★
Oh I agree the deep fryer is an awesome option 🙂
where is the fucking rice!
★
Oh hi Joe! Thank you for your colorful commentary. The rice is the risotto recipe listed in the ingredients.
hello, can I make the risotto a day before?
★★★★★
You absolutely can and should!
Awesome recipe, must try it out on Saturday