Vitamix Ground Chicken Cutlets… котлетки
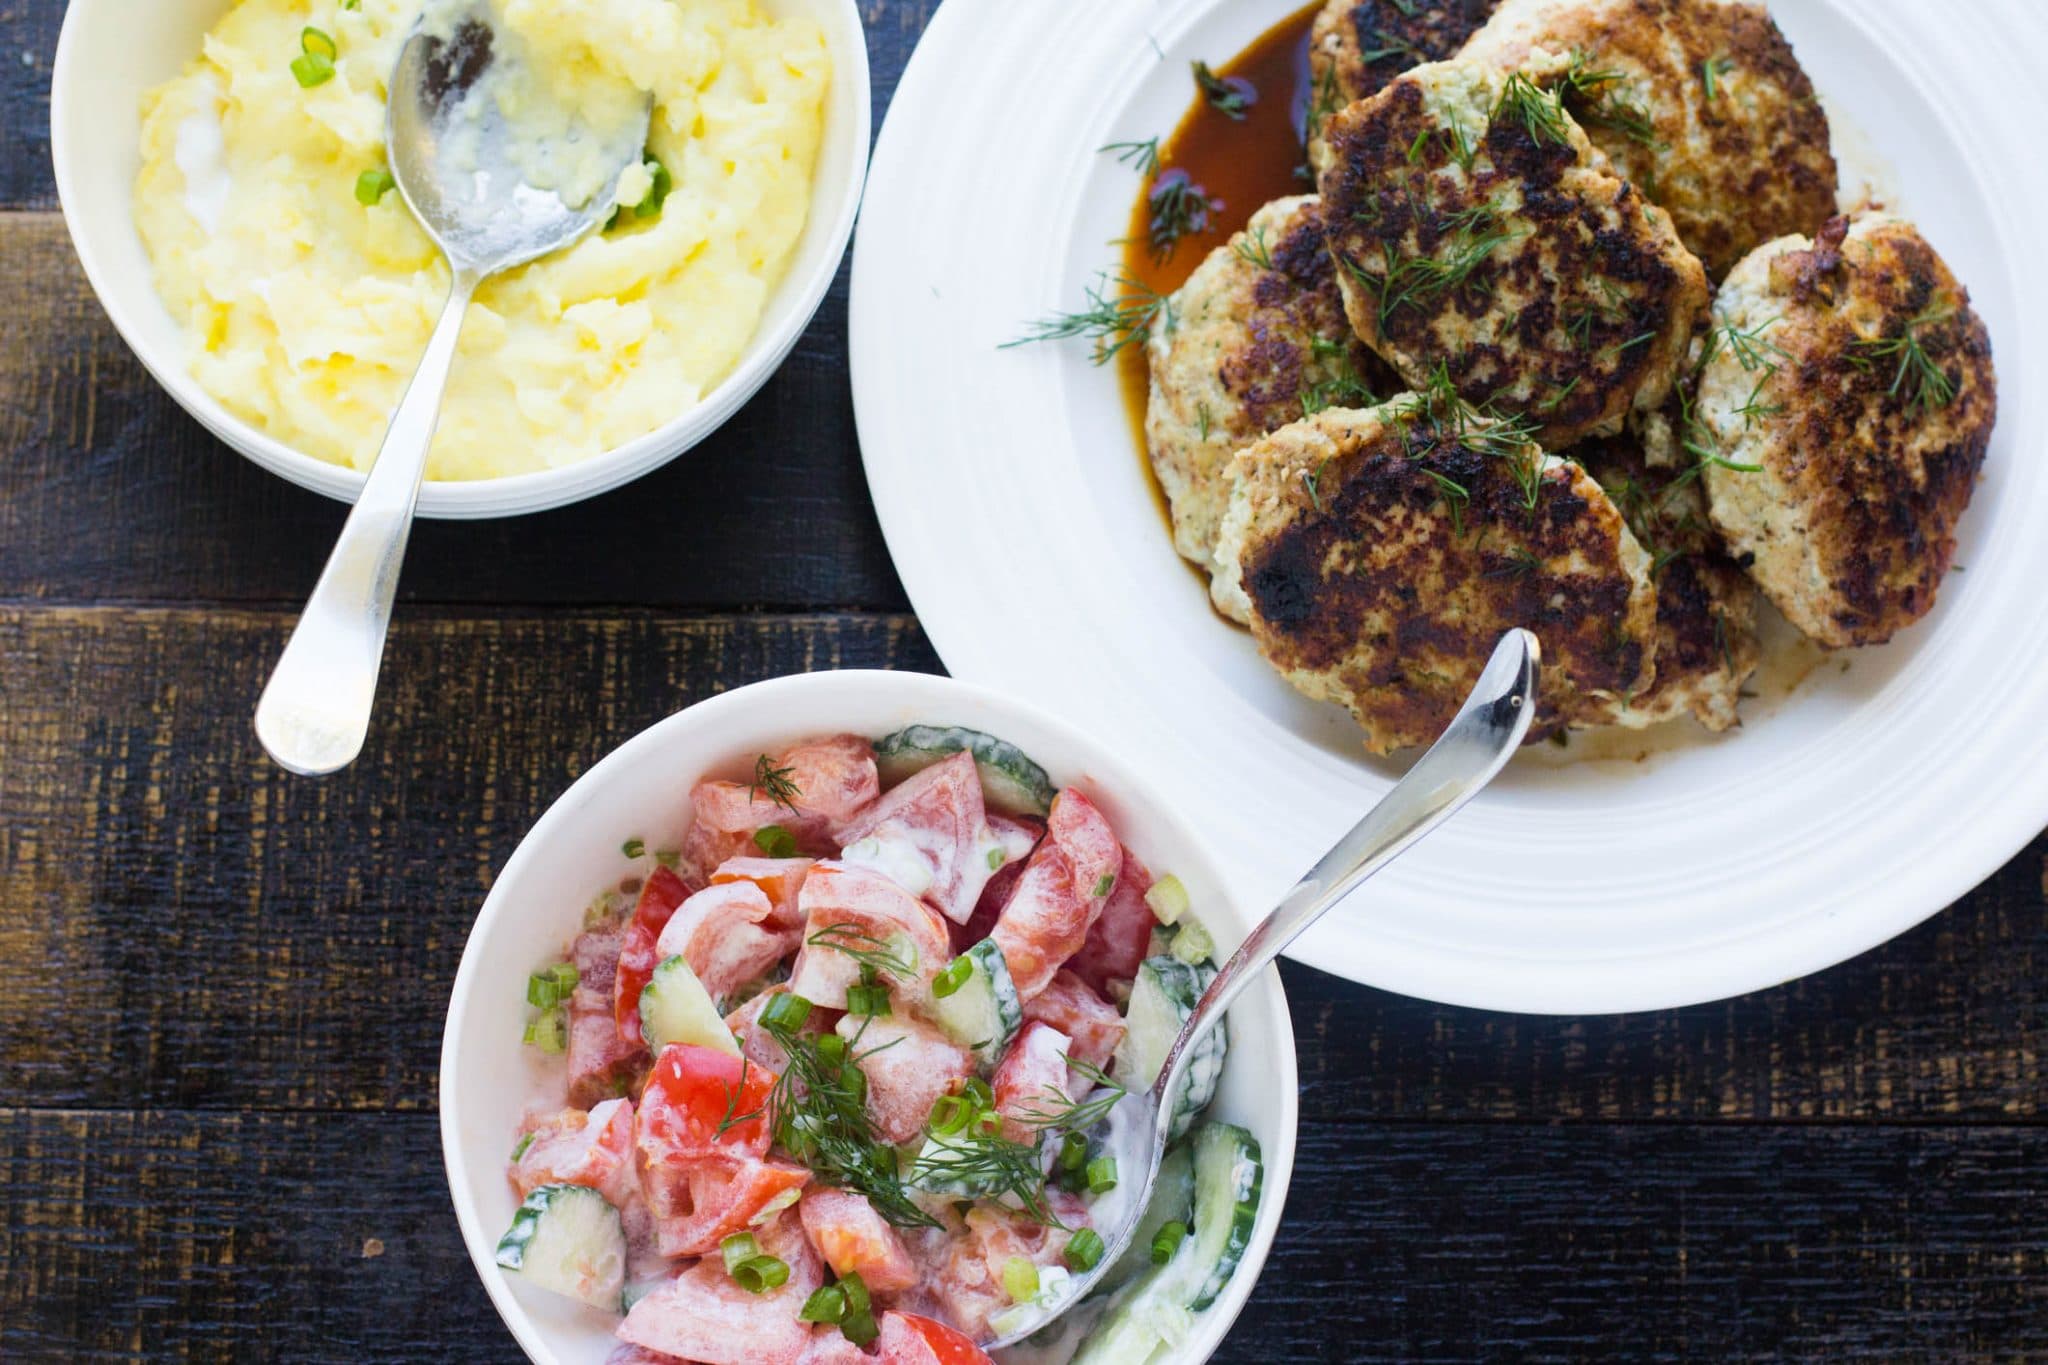
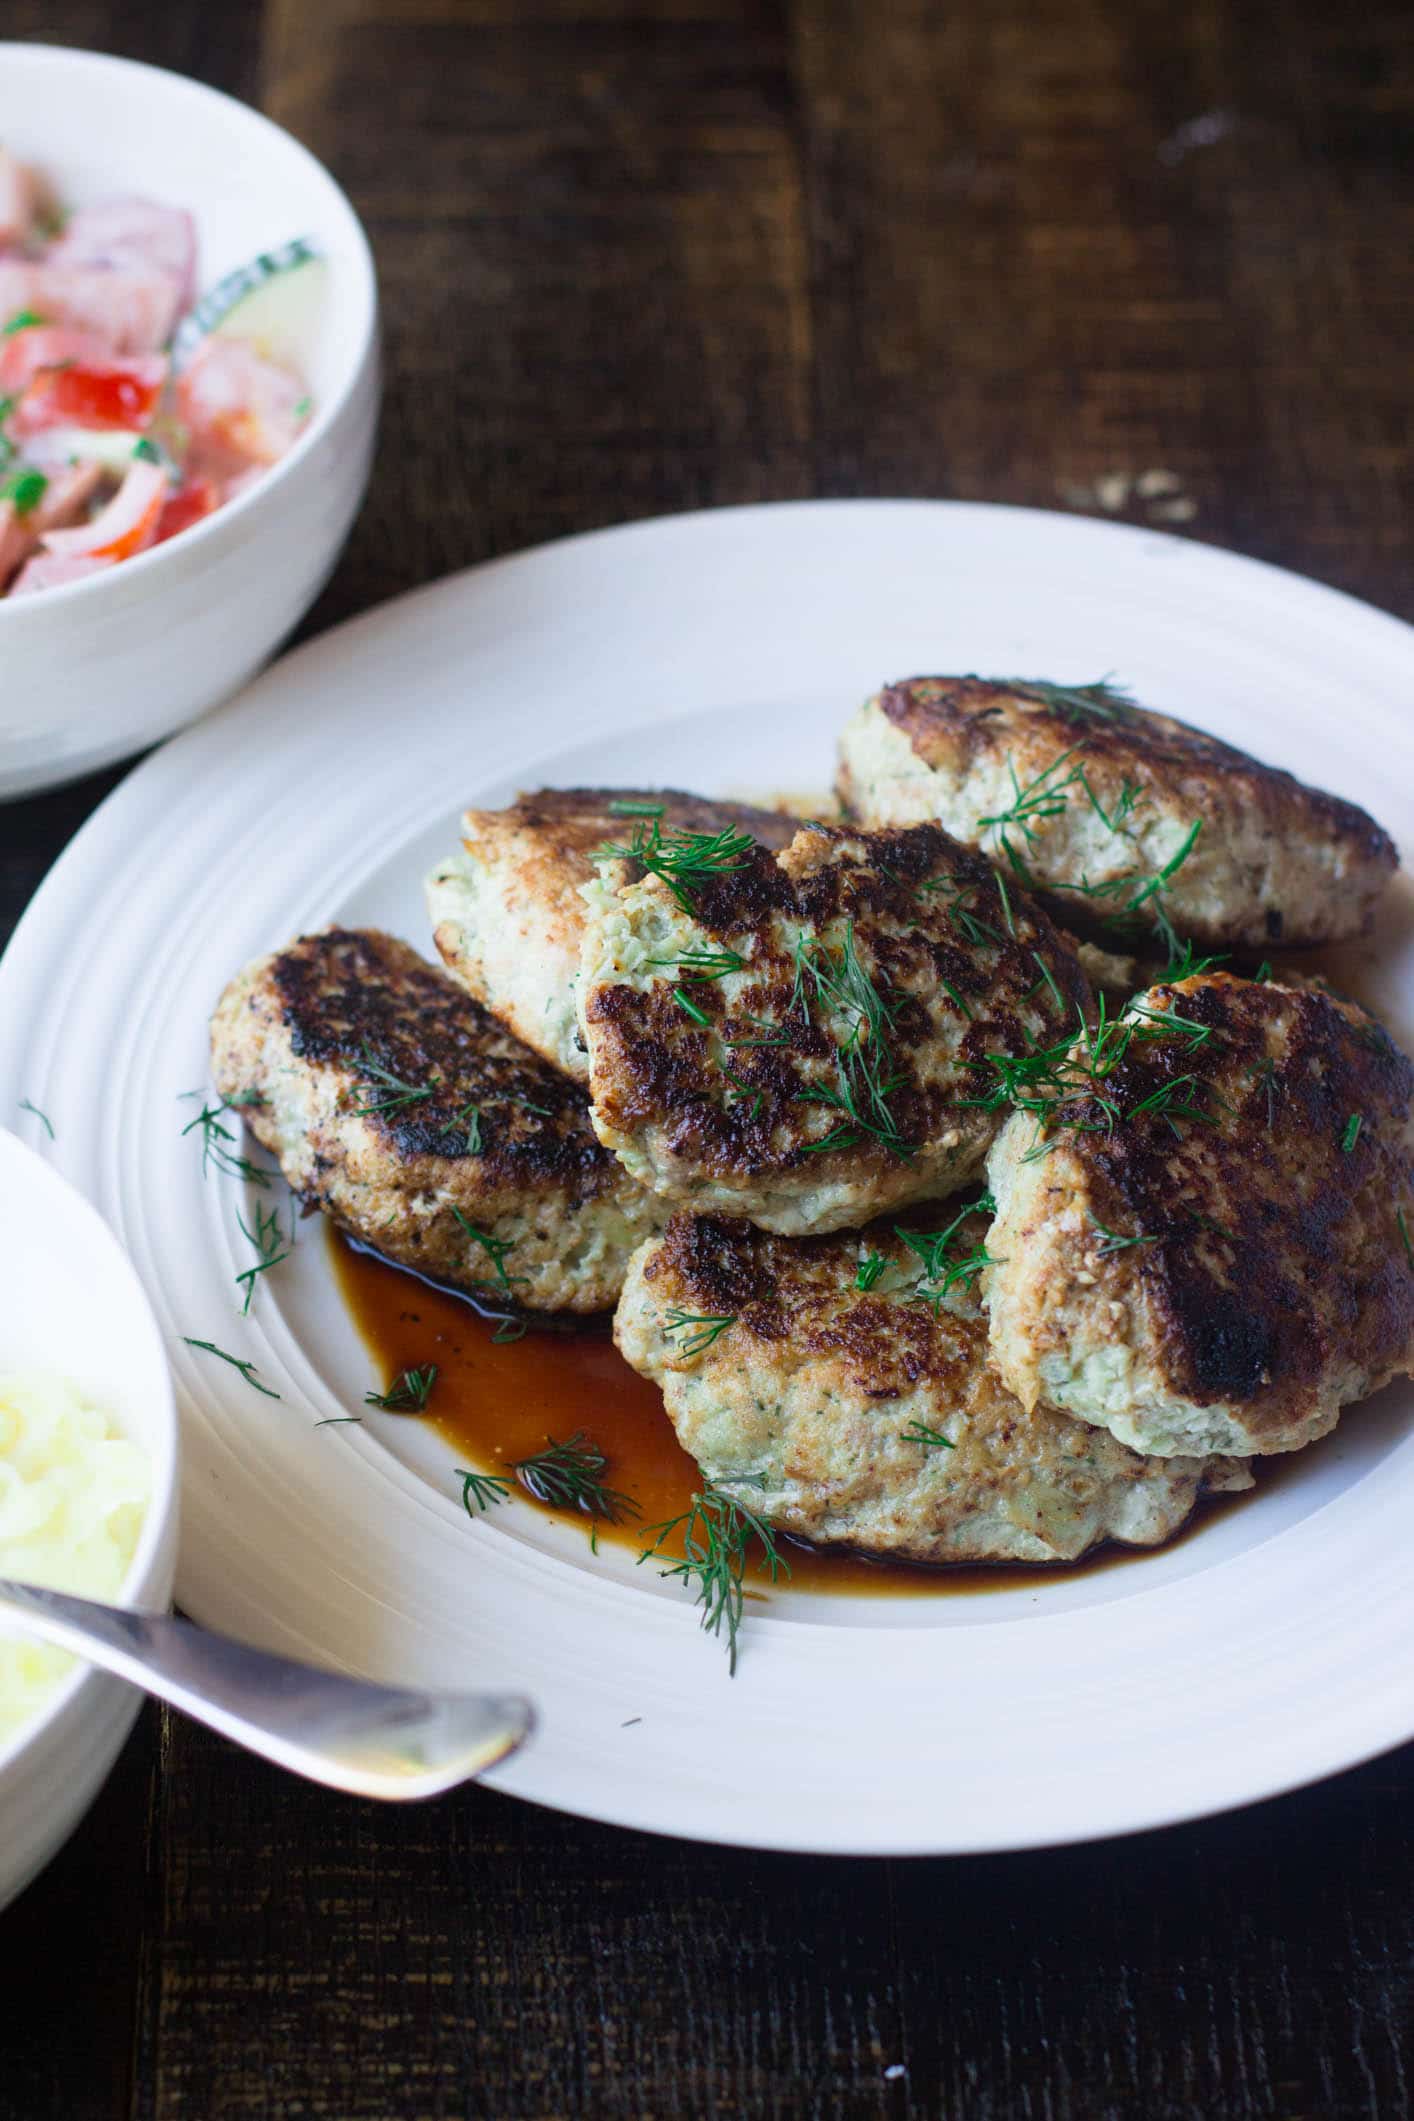
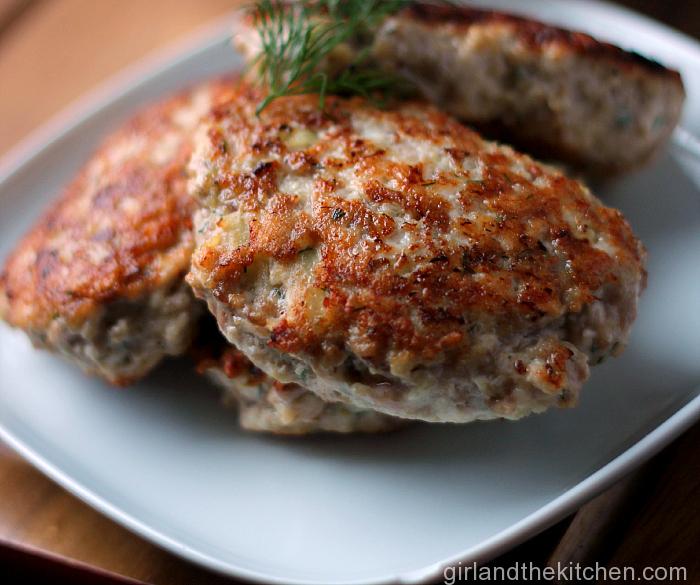
Juicy ground chicken cutlets mixed together with dill, onion and an egg all in a Vitamix then pan fried to golden perfection. This is Russian comfort food made even easier!
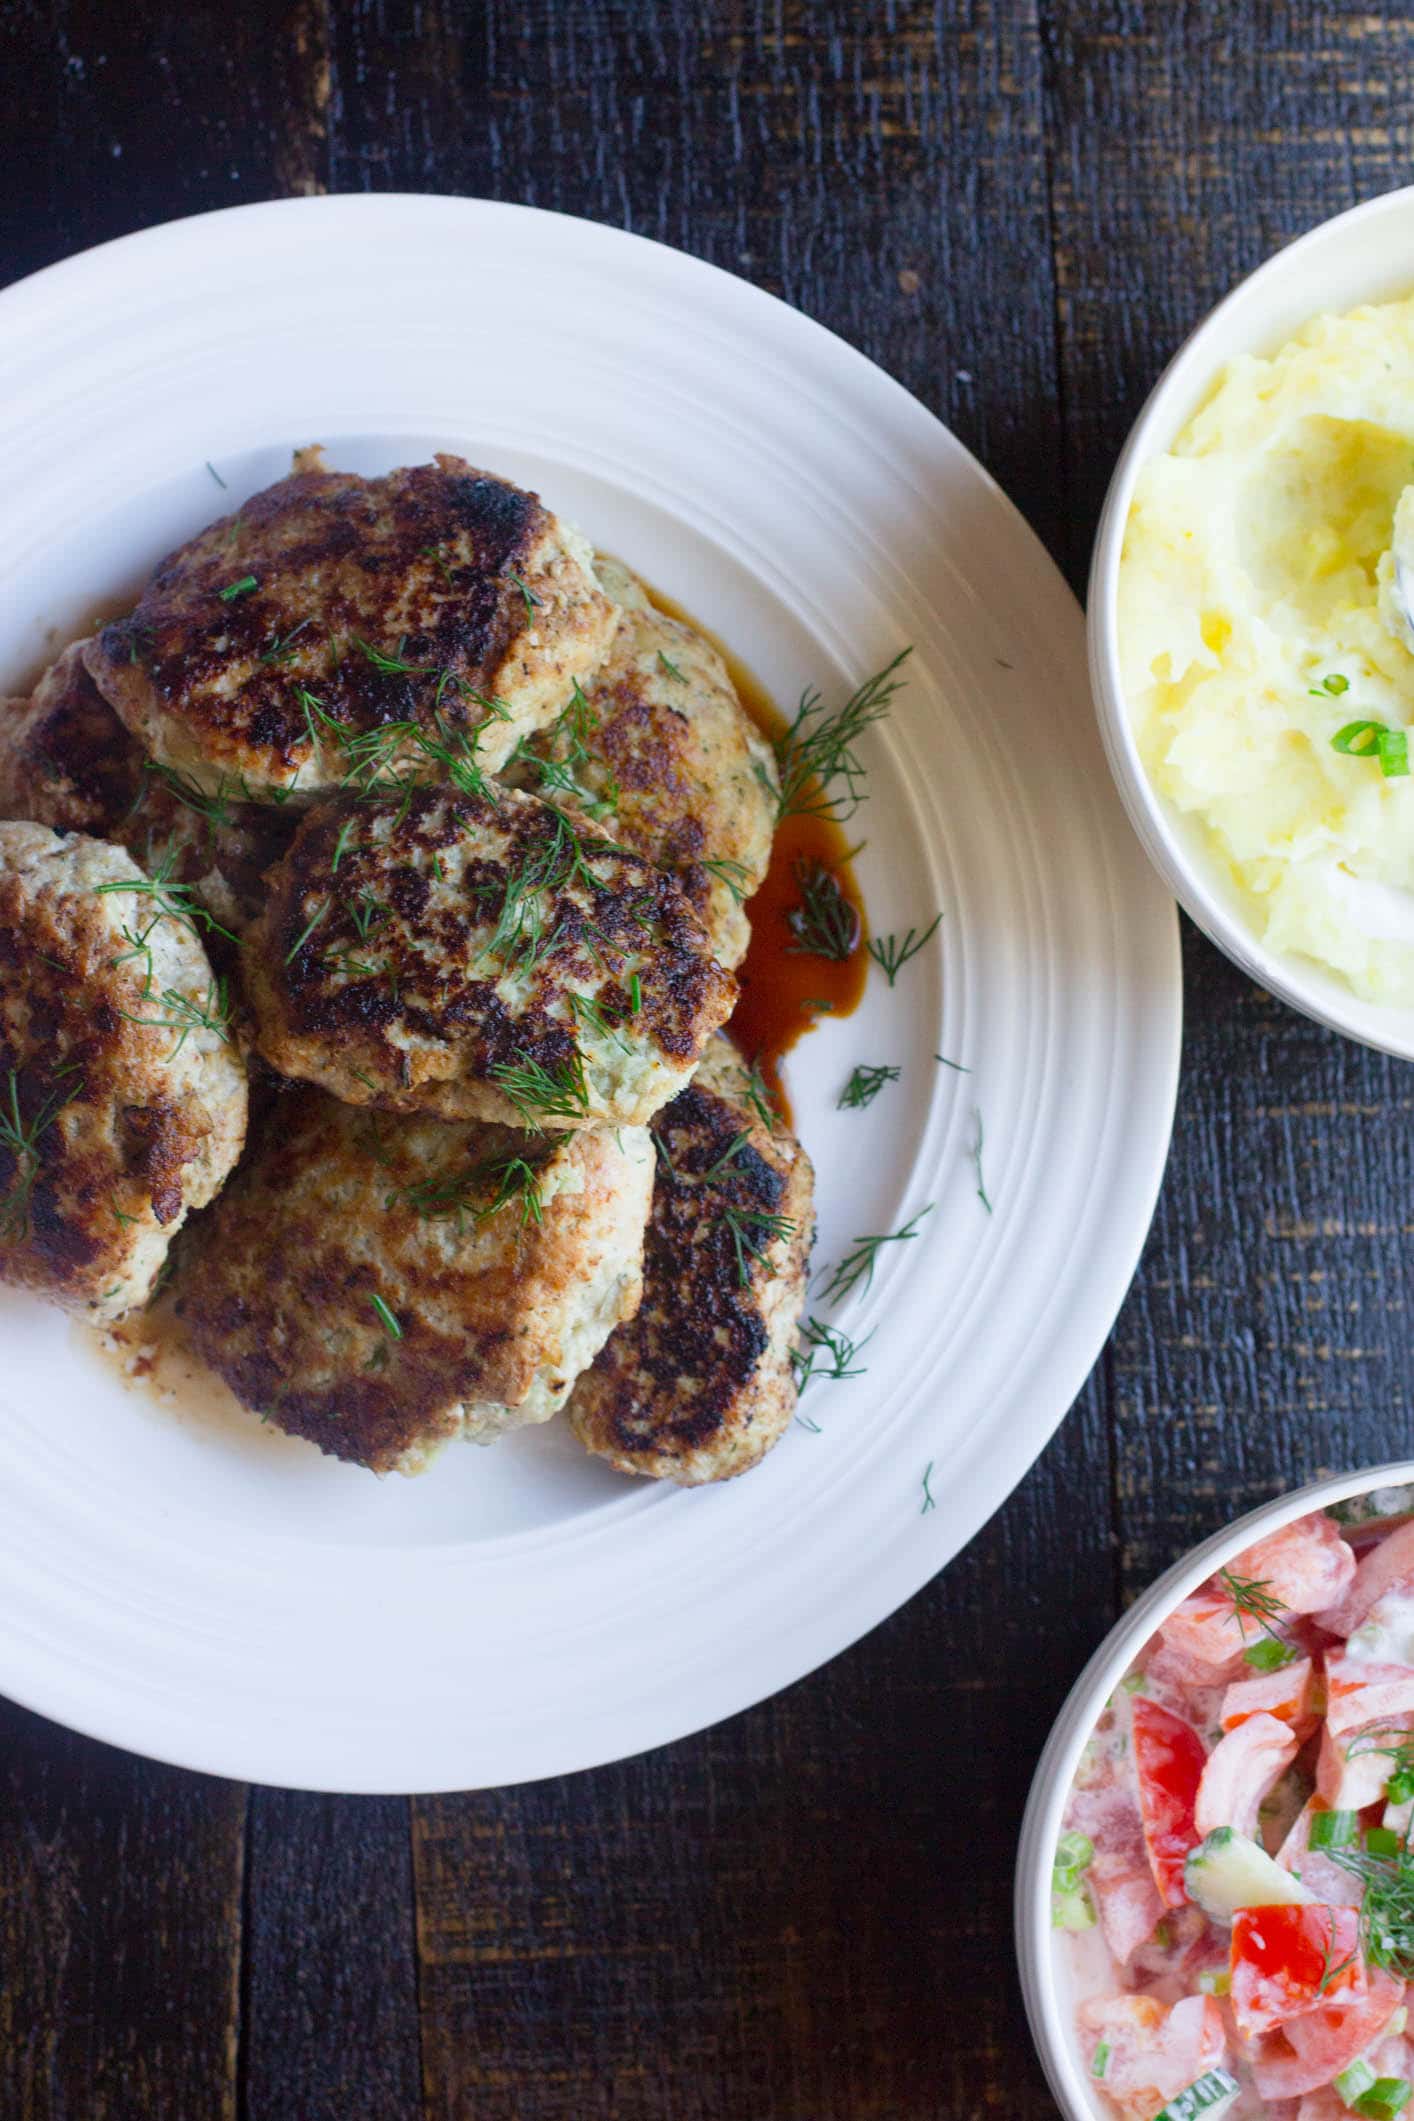
These little ground chicken cutlets are not new to the blog. Not one bit. I blogged about them several years ago, however I have deleted that blog post because it was just hideous. However thanks to the some internet archiving I did find that original post on my very first blog, KISSCOOK. This picture alone is proof as to why I deleted it from the Girl and the Kitchen blog.
Brace yourselves…the bad food pictures are coming…
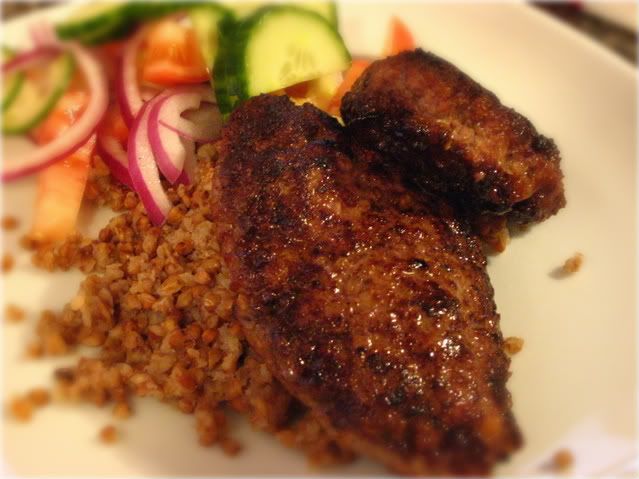
Oye…the lighting, the blurriness. Aghh it just screams amateur. I cringe, I really do.
I posted chicken cutlets again a few years back on here and several people really went crazy for them. It’s Russian food done really easily and really well.
First I will tell you how important these little ground chicken cutlets (kotletki).
*Pronounced: Kut-let-kee.
Kotletki, are simply put, simple, Russian comfort food. Ground meat (in our case ground chicken) combined with some fresh dill, onion, a good measure of salt and pepper and then pan fried to a very golden brown. They are served piping hot to adults and munchkins alike, for breakfast, lunch and dinner and enjoyed by hungry bellies equally.
My original recipe featured a modern twist. I added a few more ingredients, zazzed them up a bit and they were always a hit. But…I needed them better and most importantly faster. I have figured out how to speed up the entire prep process to all of 4 minutes…or less.
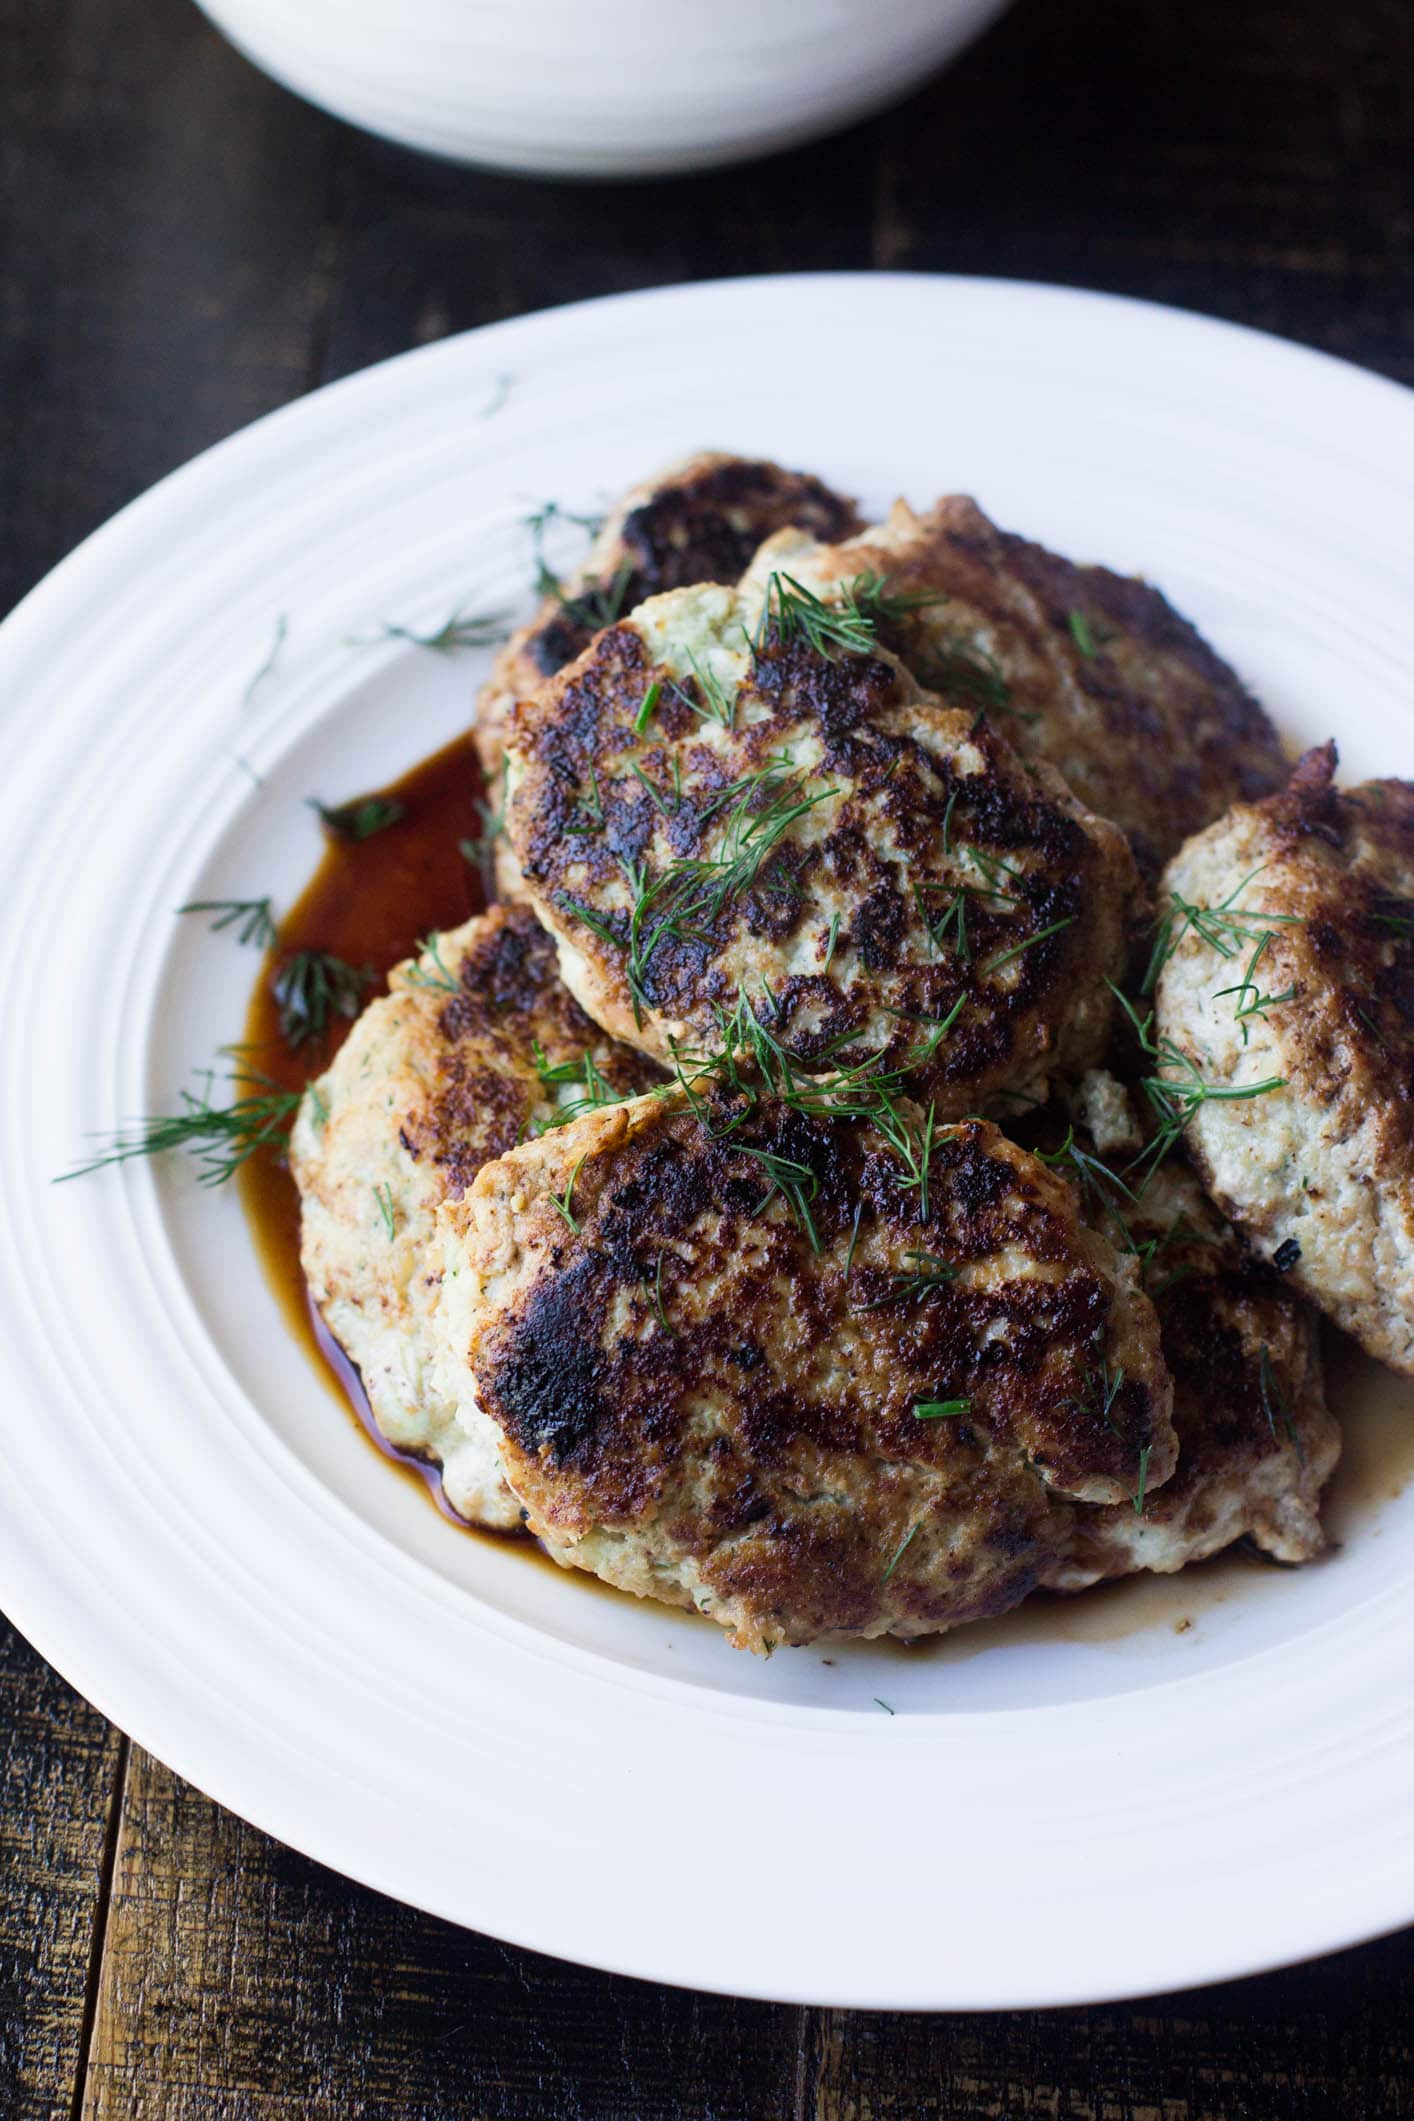
THE TECHNIQUE
I have always spoken of my Vitamix fondly. I have made soups, sauces, dips and even desserts in that machine. It’s fantastic! But then I thought, why not grind up meat in there.
So I experimented… I placed some water and an egg on the bottom, then an onion, then the whole chicken breasts and thighs and sprinkled on some dill. I turned the machine on to variable level 5 and worked it through with my plunger.
IT. WORKED. I was a genius. Well not quite a genius. But I knew I would make Russian housewives everywhere happy.
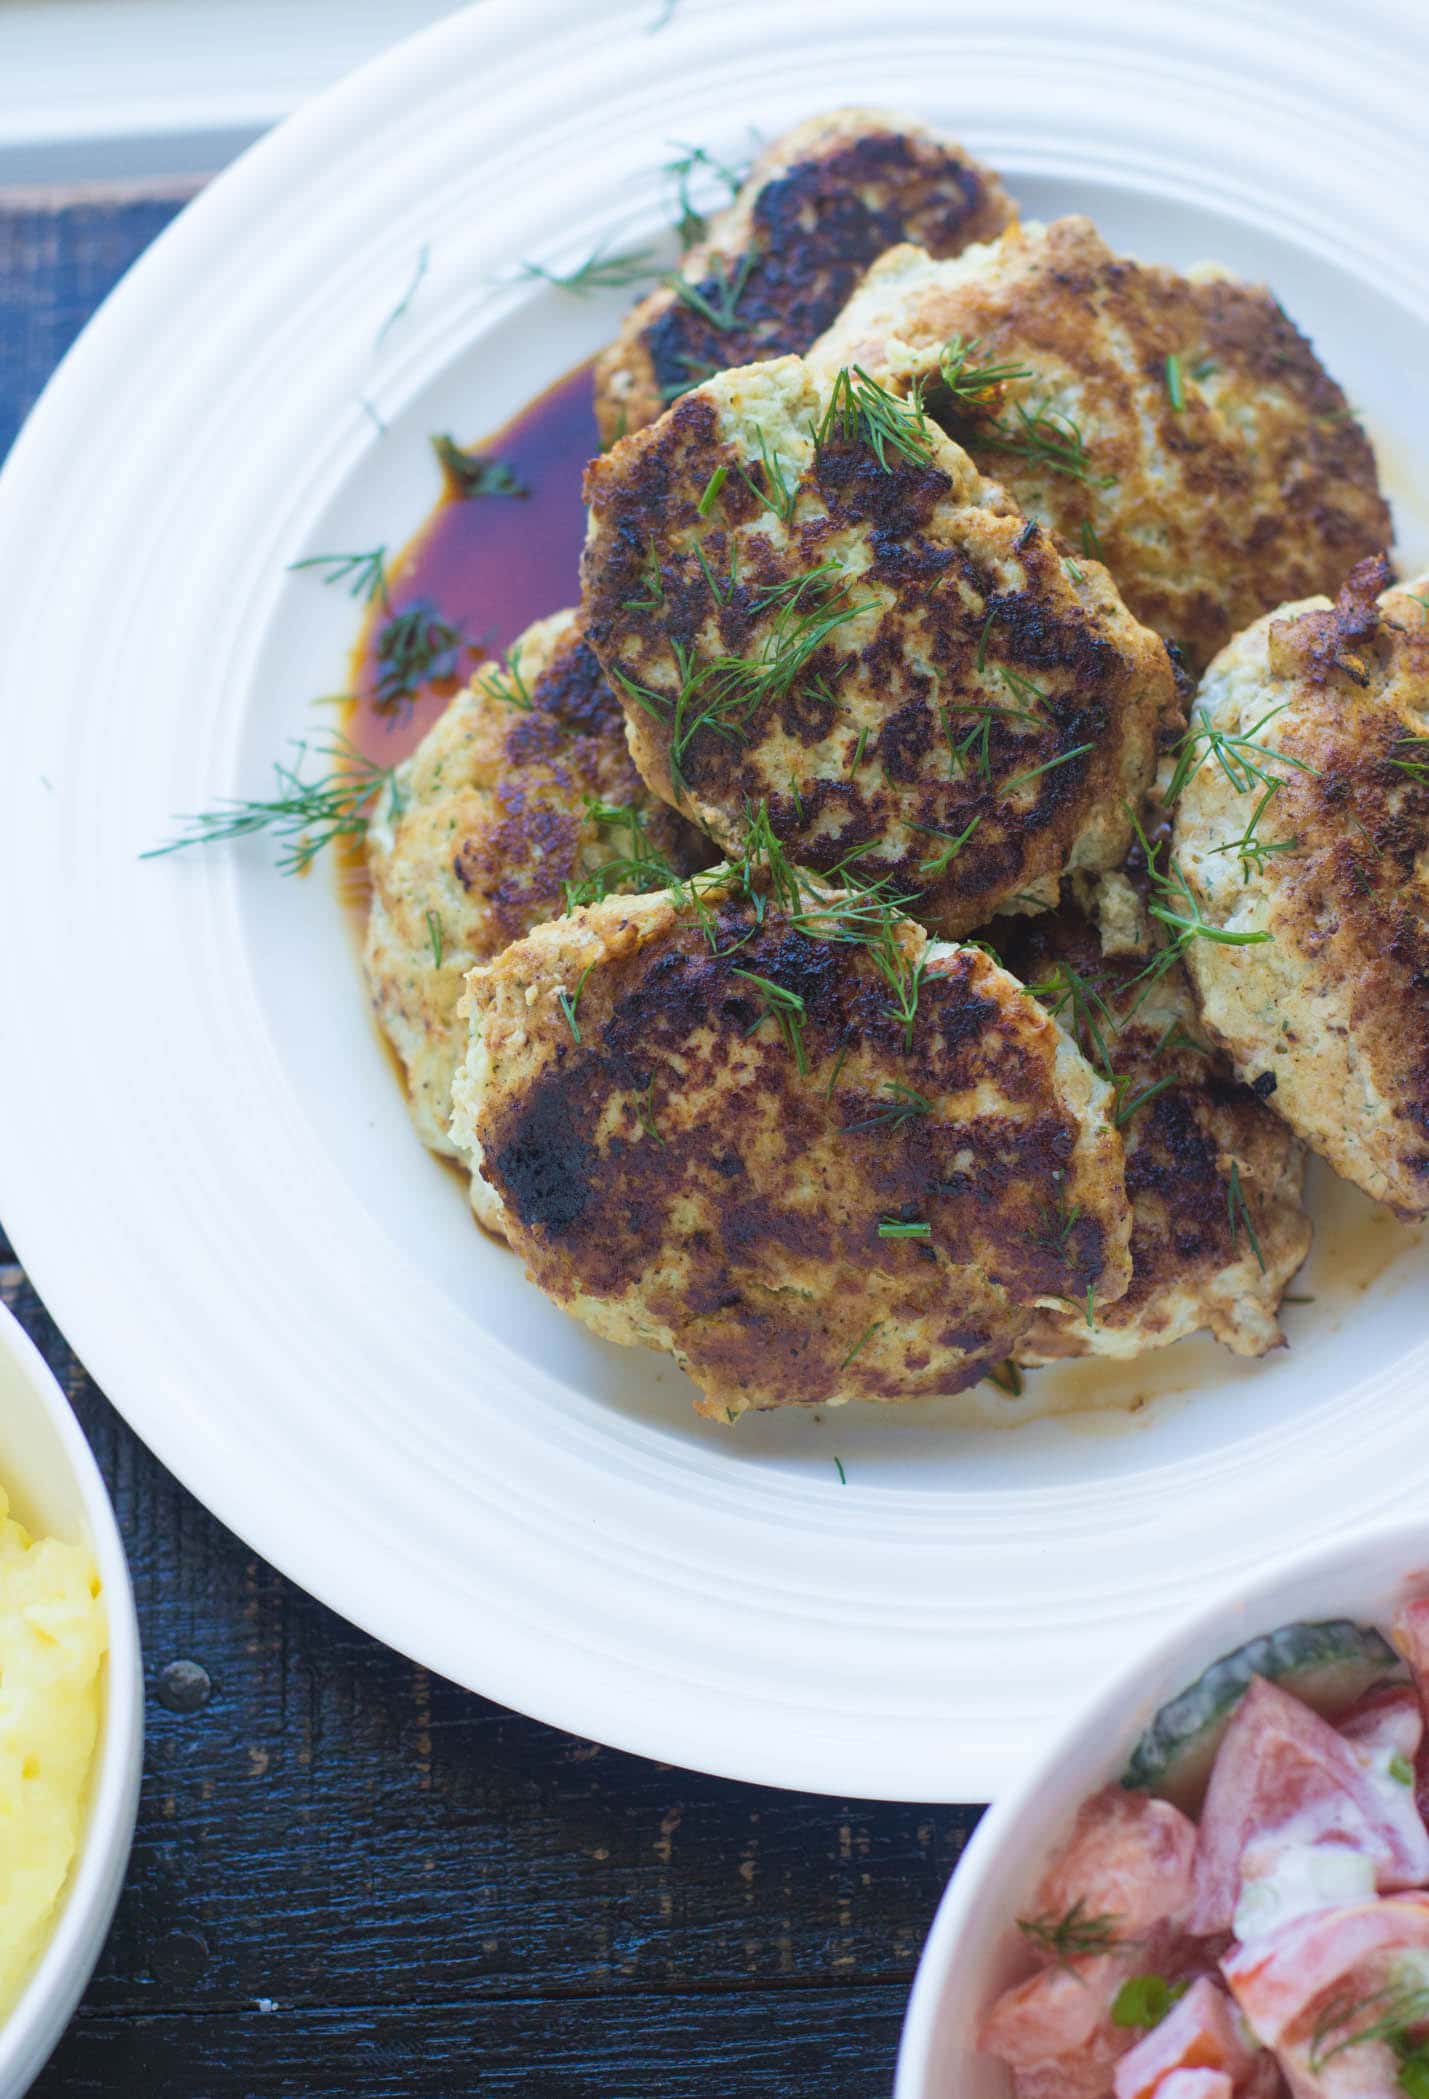
You see these chicken cutlets are the equivalent of meatloaf to the Russians. They are a form of nostalgia that just has to exist in our families. We all crave the simplicity of these beautifully plump patties.
My hubs always says that when he was growing up, a frequent Sunday breakfast was these chicken cutlets, mashed potatoes and a classic Russian salad. For him, this is the ultimate childhood throwback.
By the way, I do not mean to brag..BUT my mashed potatoes are the creamiest and most velvety mashers…EVER. Seriously. They are hea-ven. And you will never guess the secret ingredient.
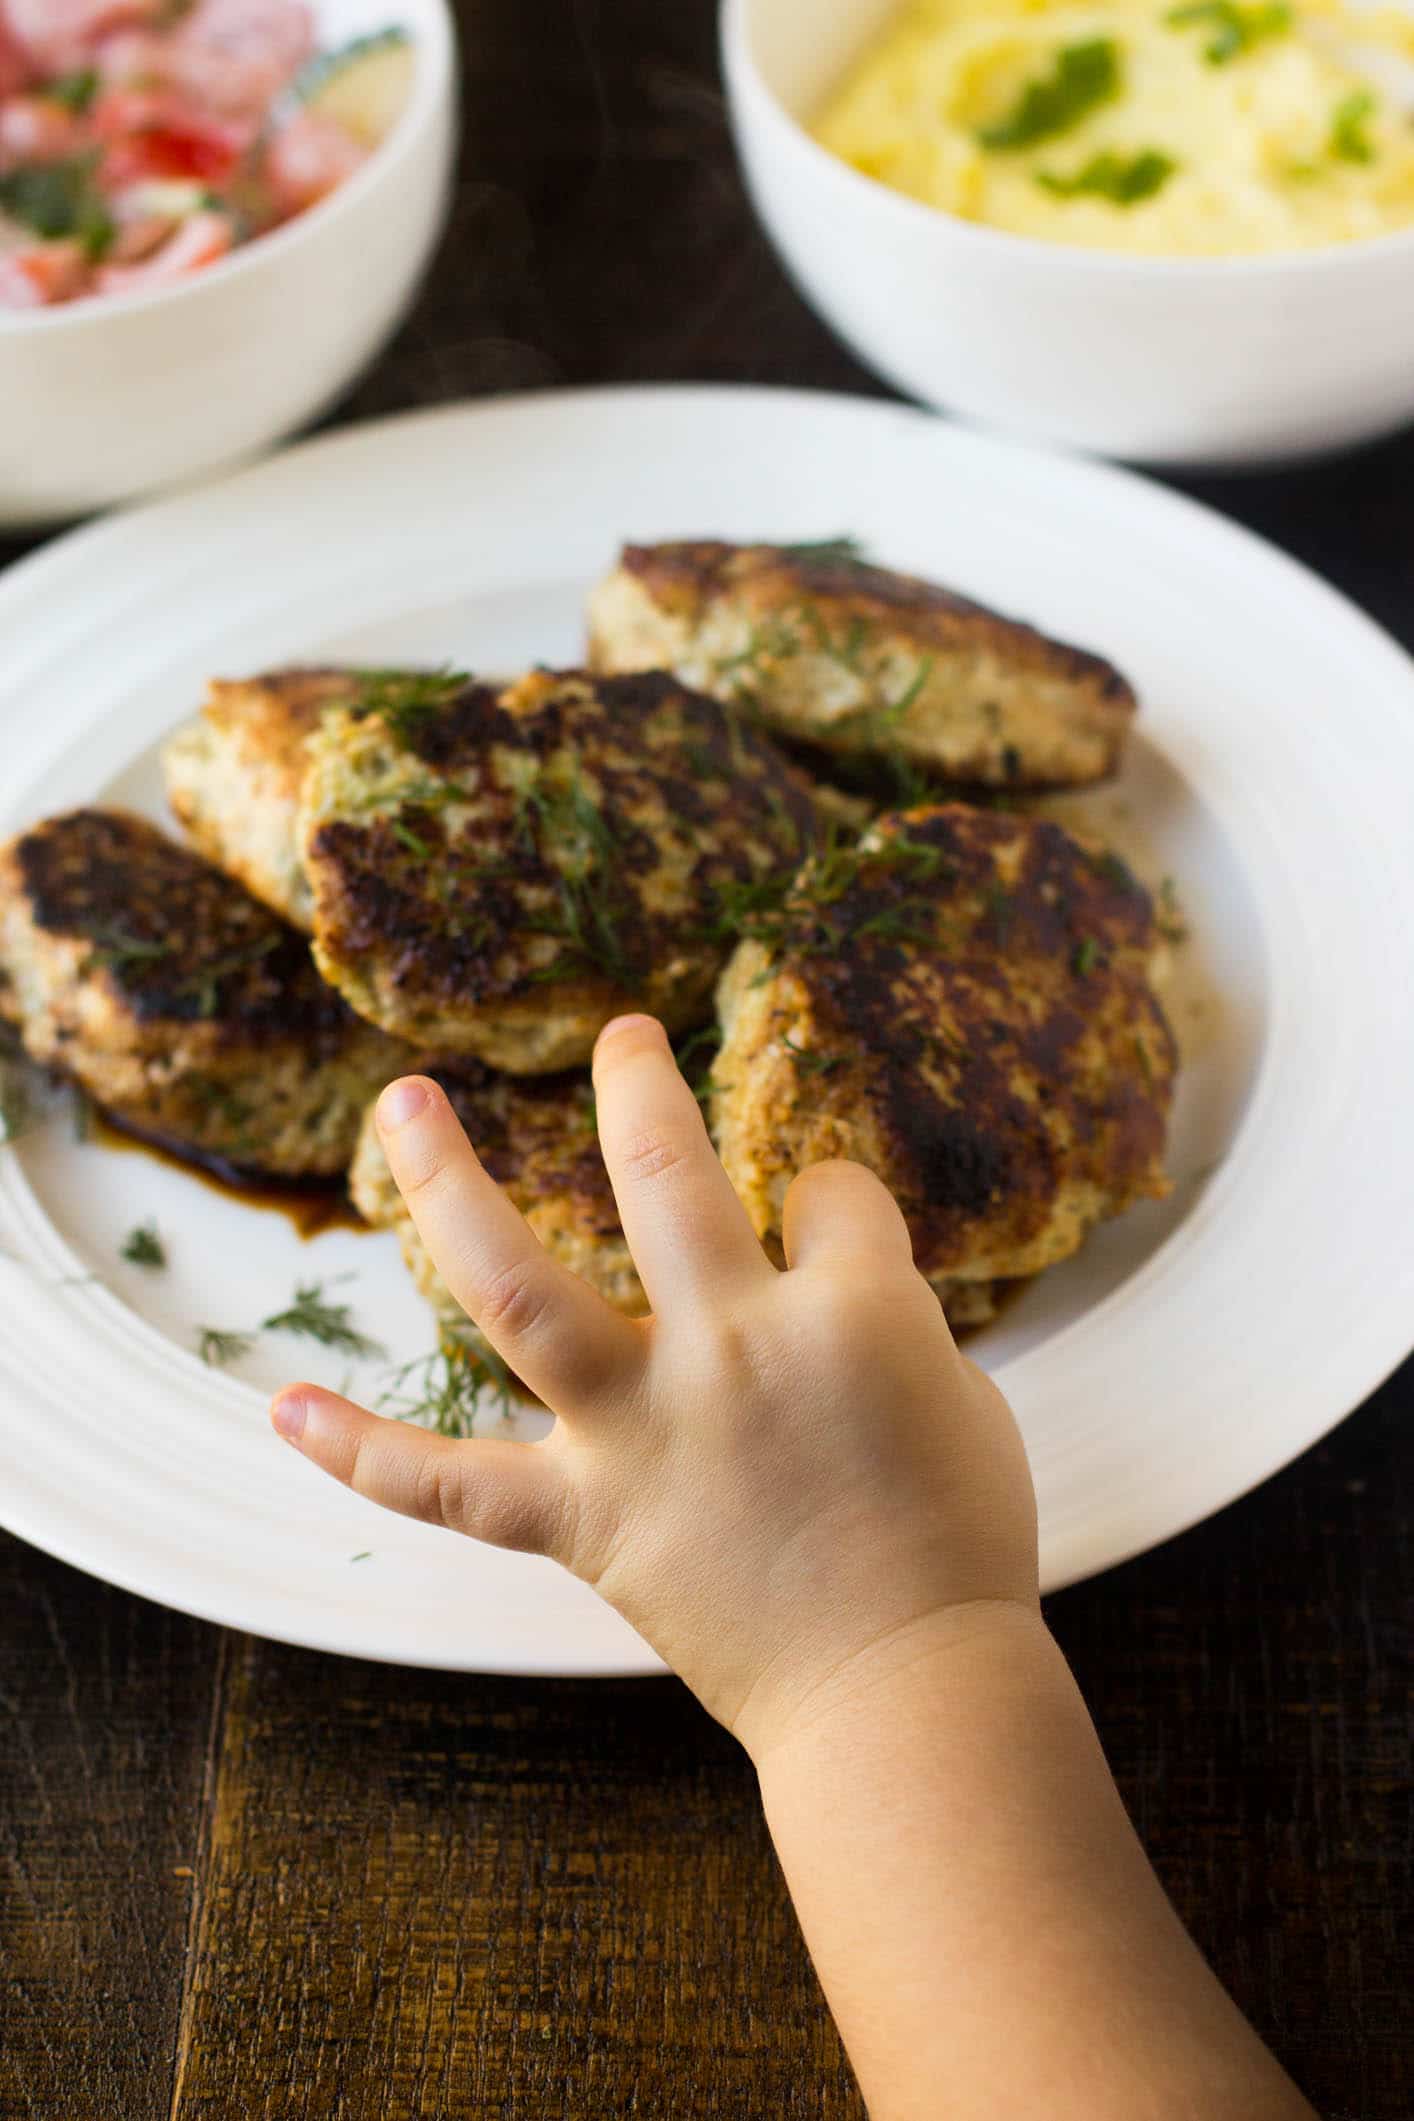
This morning while I was cooking these chicken cutlets up and attempting to photograph them, my hungry, hungry munchkin Charlie, attempted to steal a kotleka (that’s the singular version of kotletki) while I was readjusting my set-up.
Look at that dainty hand…
She then proceeded to stand in front of me and pose for me, turning my food porn shoot to a sassy munchkin shoot.

So naturally I took pictures of this sweetness. Little did I know it was all a distraction to steal some mashed potatoes this time. Look at that scheming face 🙂
After a good 10 minutes of trying to get the perfect shot…the munchkin got to eat her lunch. The hubs sat down next to her and having just woken up (he is a night owl so on Sunday’s I let him sleep in) and he said, “Mmmmm the typical Russian breakfast. Thanks babe, this hits the spot.”
And the munchkin…she was just happy sitting next to daddy, occasionally flinging a tomato at his head. Welcome to my Sunday mornings.
Print
Vitamix Ground Chicken Cutlets… котлетки
- Total Time: 15 minutes
- Yield: 4 people 1x
Description
Juicy ground chicken cutlets mixed together with dill, onion and an egg all in a Vitamix then pan fried to golden perfection. This is Russian comfort food made even easier!
Ingredients
- 2 pounds boneless (skinless, chicken breast *Note 1)
- 1 large onion
- 1 egg
- 2 tbsp dill
- 2 tbsp water
- salt and pepper to taste
- Coconut oil to fry
Instructions
- Place water, egg, onion, meat and dill into Vitamix in this exact order.
- Use the plunger to carefully work the meat and the onion through on Variable 5. Slowly increase, but do not go up higher than 8 as you may have a puree at that point.
- Stop once everything is evenly and finely processed.
- Pour some olive oil into a large pan and heat up on high.
- I sometimes have a heavy hand with my salt with these little patties. So I always fry up a tiny little piece and test it out for seasoning.
- While the pan is heating up, go ahead and create a little work station for yourself. You will need 1 bowl with water, 1 platter lined with paper towels and the bowl with the meat mixture.
- Once the oil has heated up for about 2-3 minutes you are ready to fry. Dip your hand into the water and take some meat mixture into your hand. Shape the meat patties into little flat footballs, basically the size of your palm. Do this by making a ball with the meat, then flatten it out and shape it to be about the size and thickness if your palm..
- Slide the patties into the oil, careful as to not to burn yourself.
- After 4-5 minutes, flip them carefully with a spatula to continue cooking on the other side. Turn the heat down to medium and continue cooking them. You can also transfer them to a baking sheet and finish cooking them in a 375-degree oven for 10 minutes. This will eliminate the need to fry them on the other side. I have done both methods and they turned out great either way.
- Lay them out on the paper towel once they are done so the excess oil can drip off a bit. You can use a meat thermometer to test for doneness. They should reach a temperature of 160-degrees.
- Serve hot.
Notes
Note 1: I have always bought the best and freshest meat that I could afford. Ever since going plant based, I have upped the anty on that even more. Since my family refuses to go vegan I try and get the bet and most humanely raised meat I can get my hands on. That being said, sometimes the best meat does not come pre-ground and so this was why I decided to see if I could grind my own meat in the Vitamix. Turns out my laziness can be used for good. 🙂
Note 2: I prefer coconut oil because it allows the temperature of the oil to get super high without starting to burn. This occurs because of the high smoke point of coconut oil, meaning the point that the fat starts to break down. This allows you to get a beautiful color on the kotletki.
Note 3: You can also bake these from beginning to end in the oven at 450-degrees for about 12 minutes, however sometimes you just do not get that traditional golden color.
Note 4: Nutrition values are to be used as a guideline only.
- Prep Time: 5 minutes
- Cook Time: 10 minutes
- Category: Entree
- Cuisine: Russian




Haha, I always cringe when I look at my old photos! But isn’t it so interesting to see how far we’ve all come! I think we all deserve a pat on the back…. or even a big ol’ plate of these cutlets! Wow, Mila – these look so incredible!
Thanks Kathleen…And if you loved that soup…girrrrrrl these are so up your alley!
Omg, that cute tiny hand trying to sneak something off the plate, SO CUTE!! And this recipe sounds so delicious AND easy, absolutely perfect! 🙂
Awwww thank you Nicole!!!! That tiny little hand is always stealing something 🙂
Munchkin is ridiculously adorable!! I love seeing her cheeky hand sneaking towards the plate 🙂
I never thought of mincing meat in a Vitamix! What an awesome tip, thanks Mila!
Thanks Nagi! I’ll bombard you with pics of her when I see you in a few weeks 🙂 And I discovered this trick on a whim 🙂 Don’t you love how laziness usually creates the most genius of recipes?
Haha, what a fun post to read, Mila and your daughter is captivating! That smile could sink ships, lol.
I’m laughing too because my photos are similar and I’m still working on re-doing them. I used to think I was so brilliant because I used the overhead light on the stove for lighting, lol.
I love this dish and love the comfort value, my friend. Great shots!
Ahh overhead lighting we are so terrible! Yes Charlie’s smile sinks ships and our hearts 🙂
I don’t have much experience with Russian food but I bet these would be amazing next to creamy mashed potatoes. I love the dark brown crust you’ve made! Yum! And that little hand is just too perfect! 🙂 Adorable.
Hi Erin!!! Yes they are just the best with creamy mashers!! And honestly the ones I have on my site are probably the best I have ever tasted 🙂
Hi we made these last night and they were wonderful!!! Thank you for a great new way to use chicken. Do you use a gravy or sauce? It looks like you do from the pictures. If so what do you use?
★★★★
No sauce needed 🙂 Those are just the juices coming out of the little cutlets 🙂