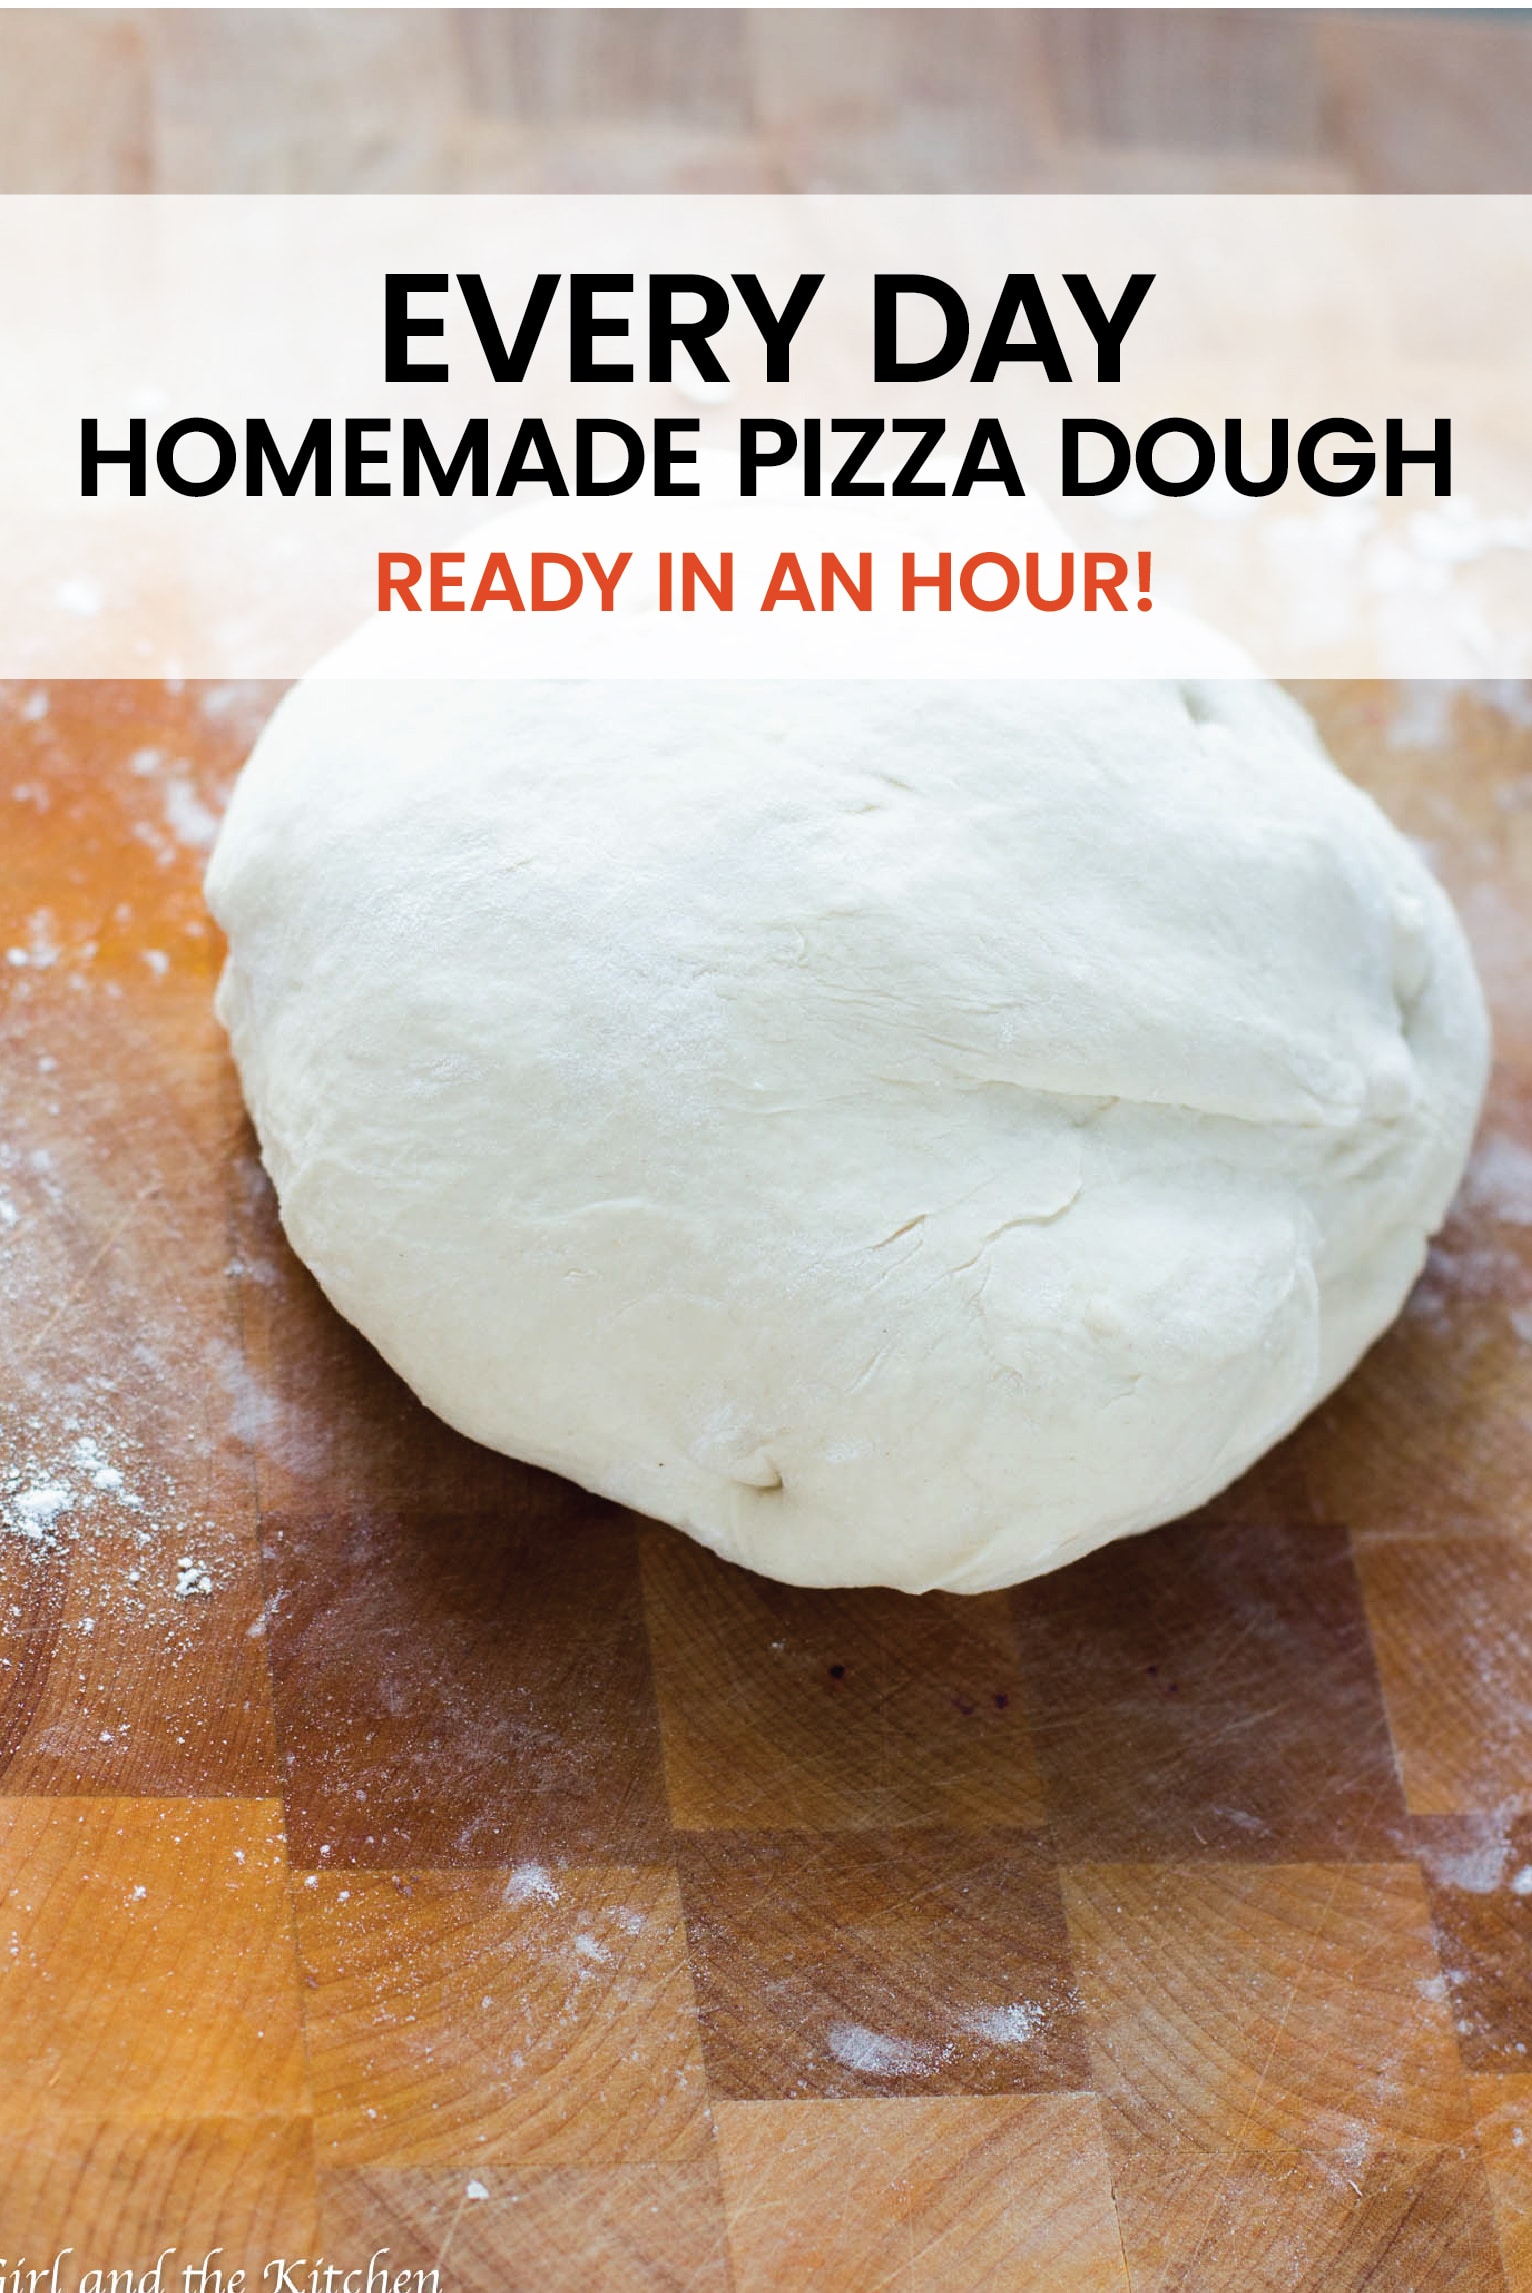
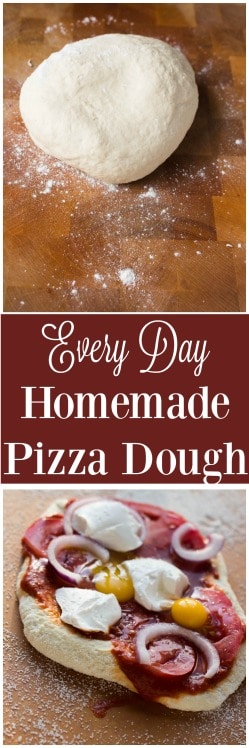
A simple every day homemade pizza dough that comes together with just a few ingredients and is ready in an hour! #pizza #pizzadough
A simple every day homemade pizza dough that comes together with just a few ingredients and is ready in an hour! Plus as an added bonus, this dough freezes perfectly!!!
On a gloomy Sunday afternoon, my good friend Tanya called me and invited me over to have some homemade pizza. I gathered my things quickly and arrived at her house ready to dive into a cheesy pizza. Unfortunately, I had misunderstood my friend. She had invited me to actually MAKE the pizza with her.
I scratched my head and wondered if making the pizza dough…proofing the pizza dough…and finally rolling out the pizza dough was all actually worth the time. My very hungry and determined friend convinced me that indeed it was and together we set out on creating a true rustic Italian pizza dough. A thin, crispy crust was in order and the recipe we put together created just that. After mastering these cheesy beauties we created this pizza over and over again, each time with different ingredients.
From fresh mozzarella, to salty prociutto to creamy ricotta, we created endless combinations to go with our incredible pizza dough crust. With a crisp Pinot Grigio and a colorful antipasti platter, we had brought the Italian countryside into her kitchen. Smiles adorned our once hungry husbands’ faces and silence fell over the warm kitchen as we all bit into a little slice of Italy. This recipe is a must for any hungry housewife or grumbling tummy.
*If you decide to make pizzas without any sauce on them in the flatbread style, make sure you brush them with olive oil so they do not dry out*
THE TECHNIQUE
Set the oven to 500°F or as hot as it will go and let it heat for at least a half an hour before making the pizza. If you have a pizza stone, put it in the lower-middle part of the oven now. *
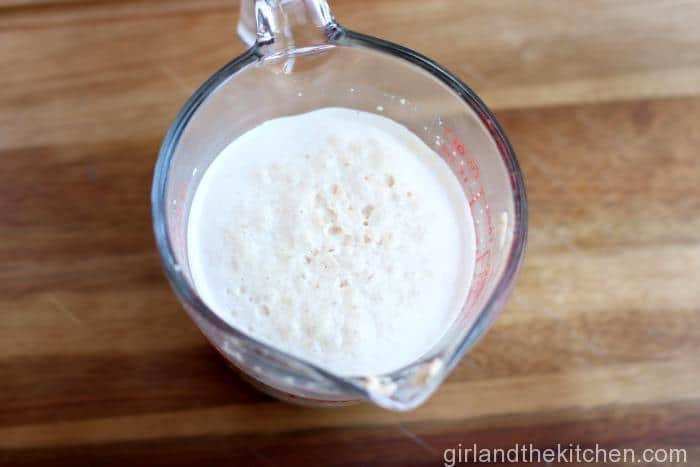
Combine the water, sugar and yeast in a mixing bowl, and stir to dissolve the yeast. The mixture should look like a thin miso soup. Allow the yeast to rise, about 10-25 minutes in a warm place.
*Yeast dough is sometimes finicky. If at first your yeast does not rise…try again. Make sure your water is the correct temperature, this is typically what kills the yeast. Most importantly be patient.”
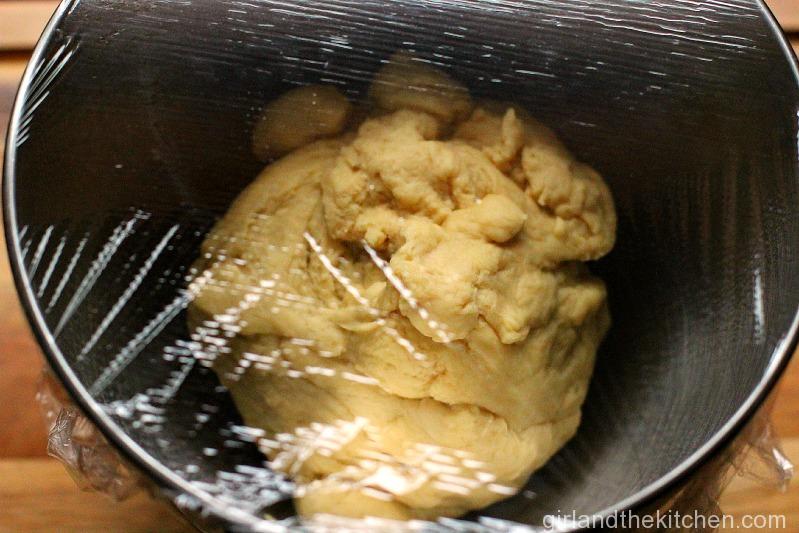
3. Add the flour and salt to the mixing bowl of a Kitchenaid mixer with a dough hook attached and mix for about 5 minutes, until it is visibly smooth. *Yeast does NOT like salt. Only add salt when combining with another ingredient, never directly to the yeast.
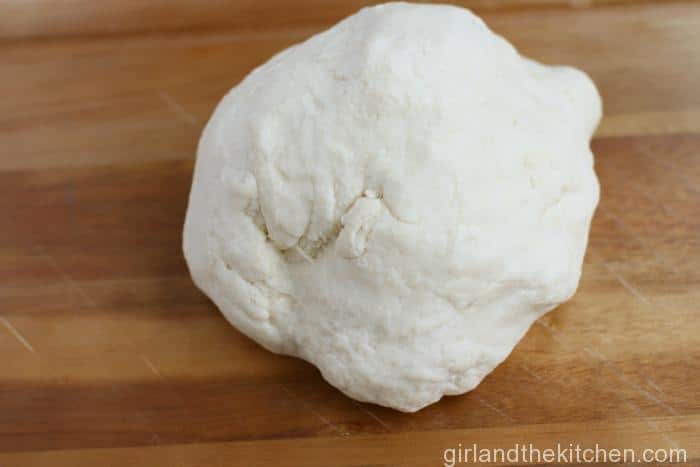
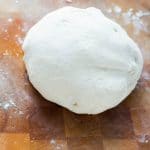
4. Turn the dough out onto a clean work surface along with any loose flour still in the bowl. Knead until all the flour is incorporated. The dough should still feel moist and slightly tacky. If it’s sticking to your hands and counter-top like bubble gum, work in more flour one tablespoon at a time until it is smooth.
5. Pour some olive oil into the bottom of your mixing bowl and place dough in it. Roll the dough in the bowl so it is covered with oil.
6. Put a cup of water in the microwave and heat for 1.5 minutes. Remove the cup. Cover the dough with plastic wrap and place into the microwave and let rise for 45-60 minutes. The microwave creates a perfect environment for the dough to proof.
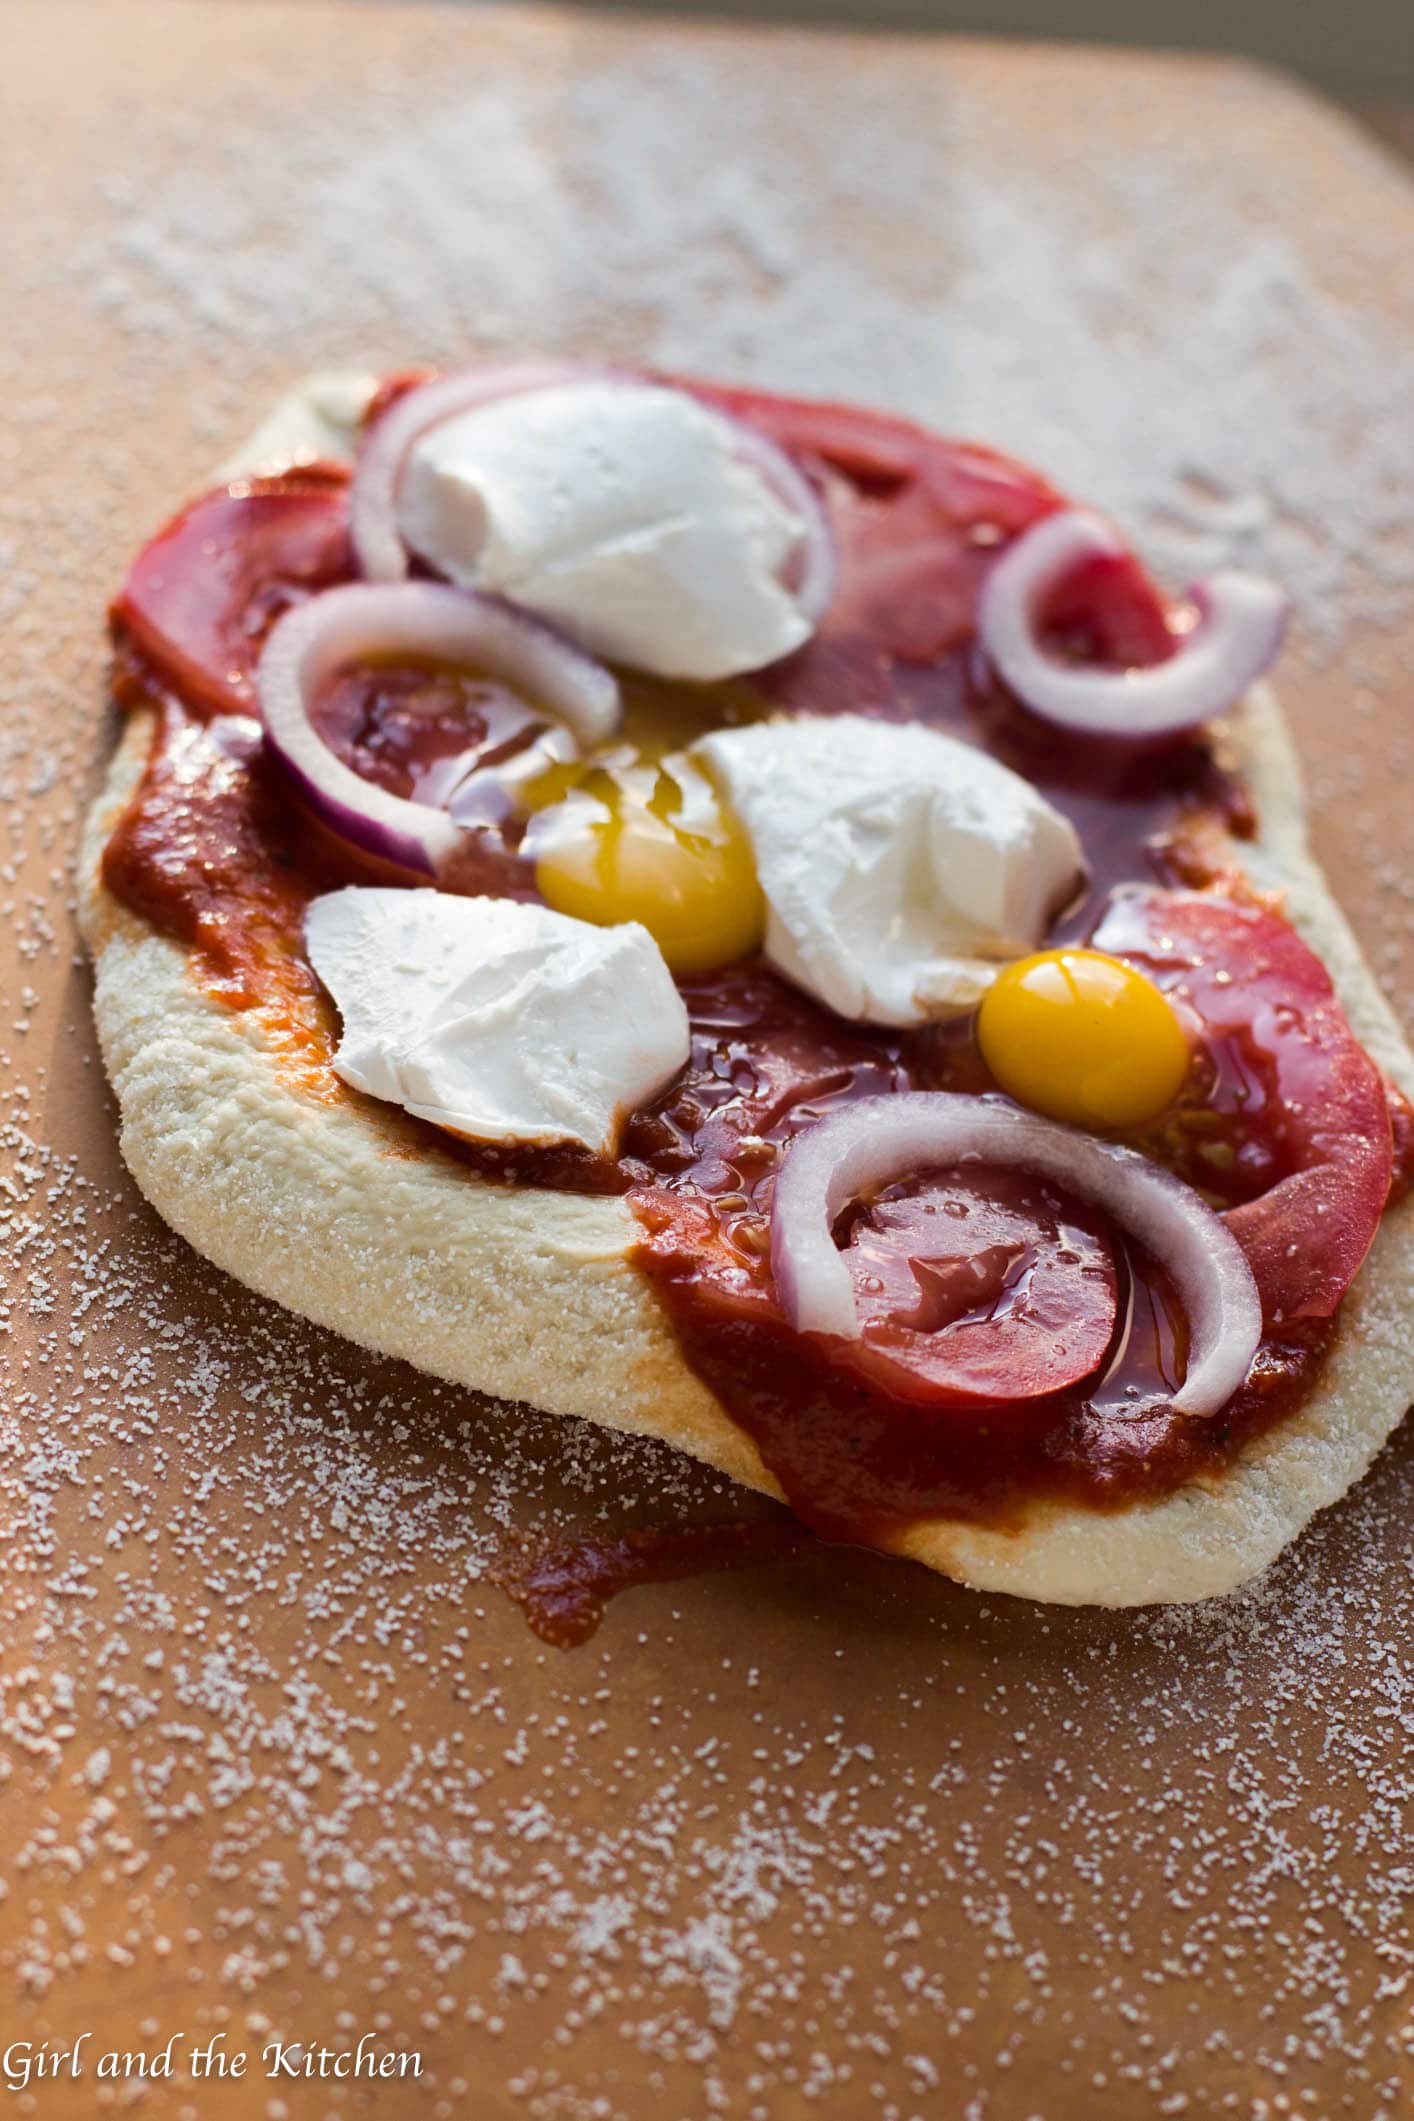
7. In the meantime, prepare whatever ingredients you like. This time around… my favorite pizza ended up having vegan ricotta, onions, a zesty tomato sauce and some quail eggs. It was AMAZING. We all agreed that this was the BEST of the bunch.
8. Tear off a tennis ball sized dough and knead with your hands. Work from the middle of the dough outwards, using the heel of your hand to gently press and stretch the pizza dough until it’s about 1/4 of an inch thick or less. For an extra-thin crust, roll it with a rolling pin. If the dough starts to shrink back, let it rest for five minutes and then continue rolling.
***Just remember, if you are not using a pizza pan (which I recommend, see note) when assembling pizzas make sure to place toppings on the dough on your pizza peel or else it will be very difficult to get it on the stone. Also, do not forget to sprinkle your pizza peel with plenty of corn meal to prevent it from sticking.***
***You can grill this pizza guys. Place it on a hot grill about 450-degrees that has been well oiled. And bake for 3-5 minutes until dough is crispy.***
A simple every day homemade pizza dough that comes together with just a few ingredients and is ready in an hour! Plus as an added bonus, this dough freezes perfectly!!!
Ingredients
Scale
3/4 cups lukewarm water
1 teaspoon active-dry or instant yeast
1 tablespoon flour
2 cups unbleached all-purpose flour
1 tbsp sugar
1 1/2 teaspoons salt
For the base (any pizza sauce you like or olive oil if sauce is not to your liking)
Assorted toppings of your choice
Instructions
Set the oven to 500°F or as hot as it will go and let it heat for at least a half an hour before making the pizza. If you have a pizza stone, put it in the lower-middle part of the oven now. A pizza stone is a really great tool to invest in. It creates the perfect thin and crispy crust and it will last you a very long time
Combine the water, sugar and yeast in a mixing bowl, and stir to dissolve the yeast. The mixture should look like a thin miso soup. Allow the yeast to rise, about 10-25 minutes in a warm place. *Yeast dough is sometimes finicky. If at first your yeast does not rise…try again. Make sure your water is the correct temperature, this is typically what kills the yeast. Most importantly be patient.”
Add the flour and salt to the mixing bowl of a Kitchenaid mixer with a dough hook attached and mix until you’ve formed a shaggy dough. *Yeast does NOT like salt. Only add salt when combining with another ingredient, never directly to the yeast.
Knead the dough with a dough hook in your mixer for about 5 minutes, until it is visibly smooth.
Turn the dough out onto a clean work surface along with any loose flour still in the bowl. Knead until all the flour is incorporated.
The dough should still feel moist and slightly tacky. If it’s sticking to your hands and counter-top like bubble gum, work in more flour one tablespoon at a time until it is smooth. Pour some olive oil into the bottom of your mixing bowl and place dough in it. Roll the dough in the bowl so it is covered with oil.
Put a cup of water in the microwave and heat for 1.5 minutes. Remove the cup. Cover the dough with plastic wrap and place into the microwave and let rise for 45-60 minutes. The microwave creates a perfect environment for the dough to proof.
In the meantime, prepare whatever ingredients you like.
Tear off a tennis ball sized dough and knead with your hands.
Work from the middle of the dough outwards, using the heel of your hand to gently press and stretch the dough until it’s about 1/4 of an inch thick or less. For an extra-thin crust, roll it with a rolling pin. If the dough starts to shrink back, let it rest for five minutes and then continue rolling. When assembling pizzas make sure to place toppings on the dough on your pizza peel
Spoon a few tablespoons of sauce into the center of the pizza and use the back of a spoon to spread it out to the edges. Pile on all of your toppings.
Bake for about 5-8 minutes.
Remove the pizza from oven and let it cool 5 minutes.
Notes
1. A pizza stone is a really great tool to invest in. It creates the perfect thin and crispy crust and it will last you a very long time. My favorite method is to use a pizza pan and then after about 5 minutes when it has become a bit crispy, transfer the dough onto the stone and get ready for a truly crispy crust!!!
2. Nutrition will vary based on the toppings added. These nutrition facts are based on 2 crusts.
Brilliant idea. I never think to use lentils outside of soup but I’m loving this idea. Pinned I just started following you on twitter and I can’t wait to see what you’re up to next.
Now that’s a fun invitation to be able to make pizza with your friend ( although I know what you mean, you’re mentally preparing to sink your teeth into a pizza and then you have to wait). It looks worth the wait!


 3. Add the flour and salt to the mixing bowl of a Kitchenaid mixer with a dough hook attached and mix for about 5 minutes, until it is visibly smooth. *Yeast does NOT like salt. Only add salt when combining with another ingredient, never directly to the yeast.
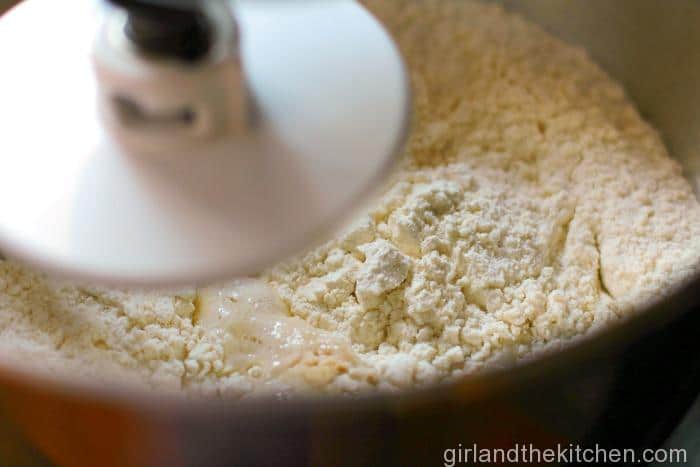


Brilliant idea. I never think to use lentils outside of soup but I’m loving this idea. Pinned I just started following you on twitter and I can’t wait to see what you’re up to next.
Now that’s a fun invitation to be able to make pizza with your friend ( although I know what you mean, you’re mentally preparing to sink your teeth into a pizza and then you have to wait). It looks worth the wait!
Lorraine…it is always fun with this friend 🙂 Cooking or not I was just happy to get together 🙂
I love homemade pizza dough! How fun to make it with the kids every week too!
Totally!!!! I’m obsessed with it!
Is it possible to make the dough without a stand mixer?
Sure just use your hands 🙂