
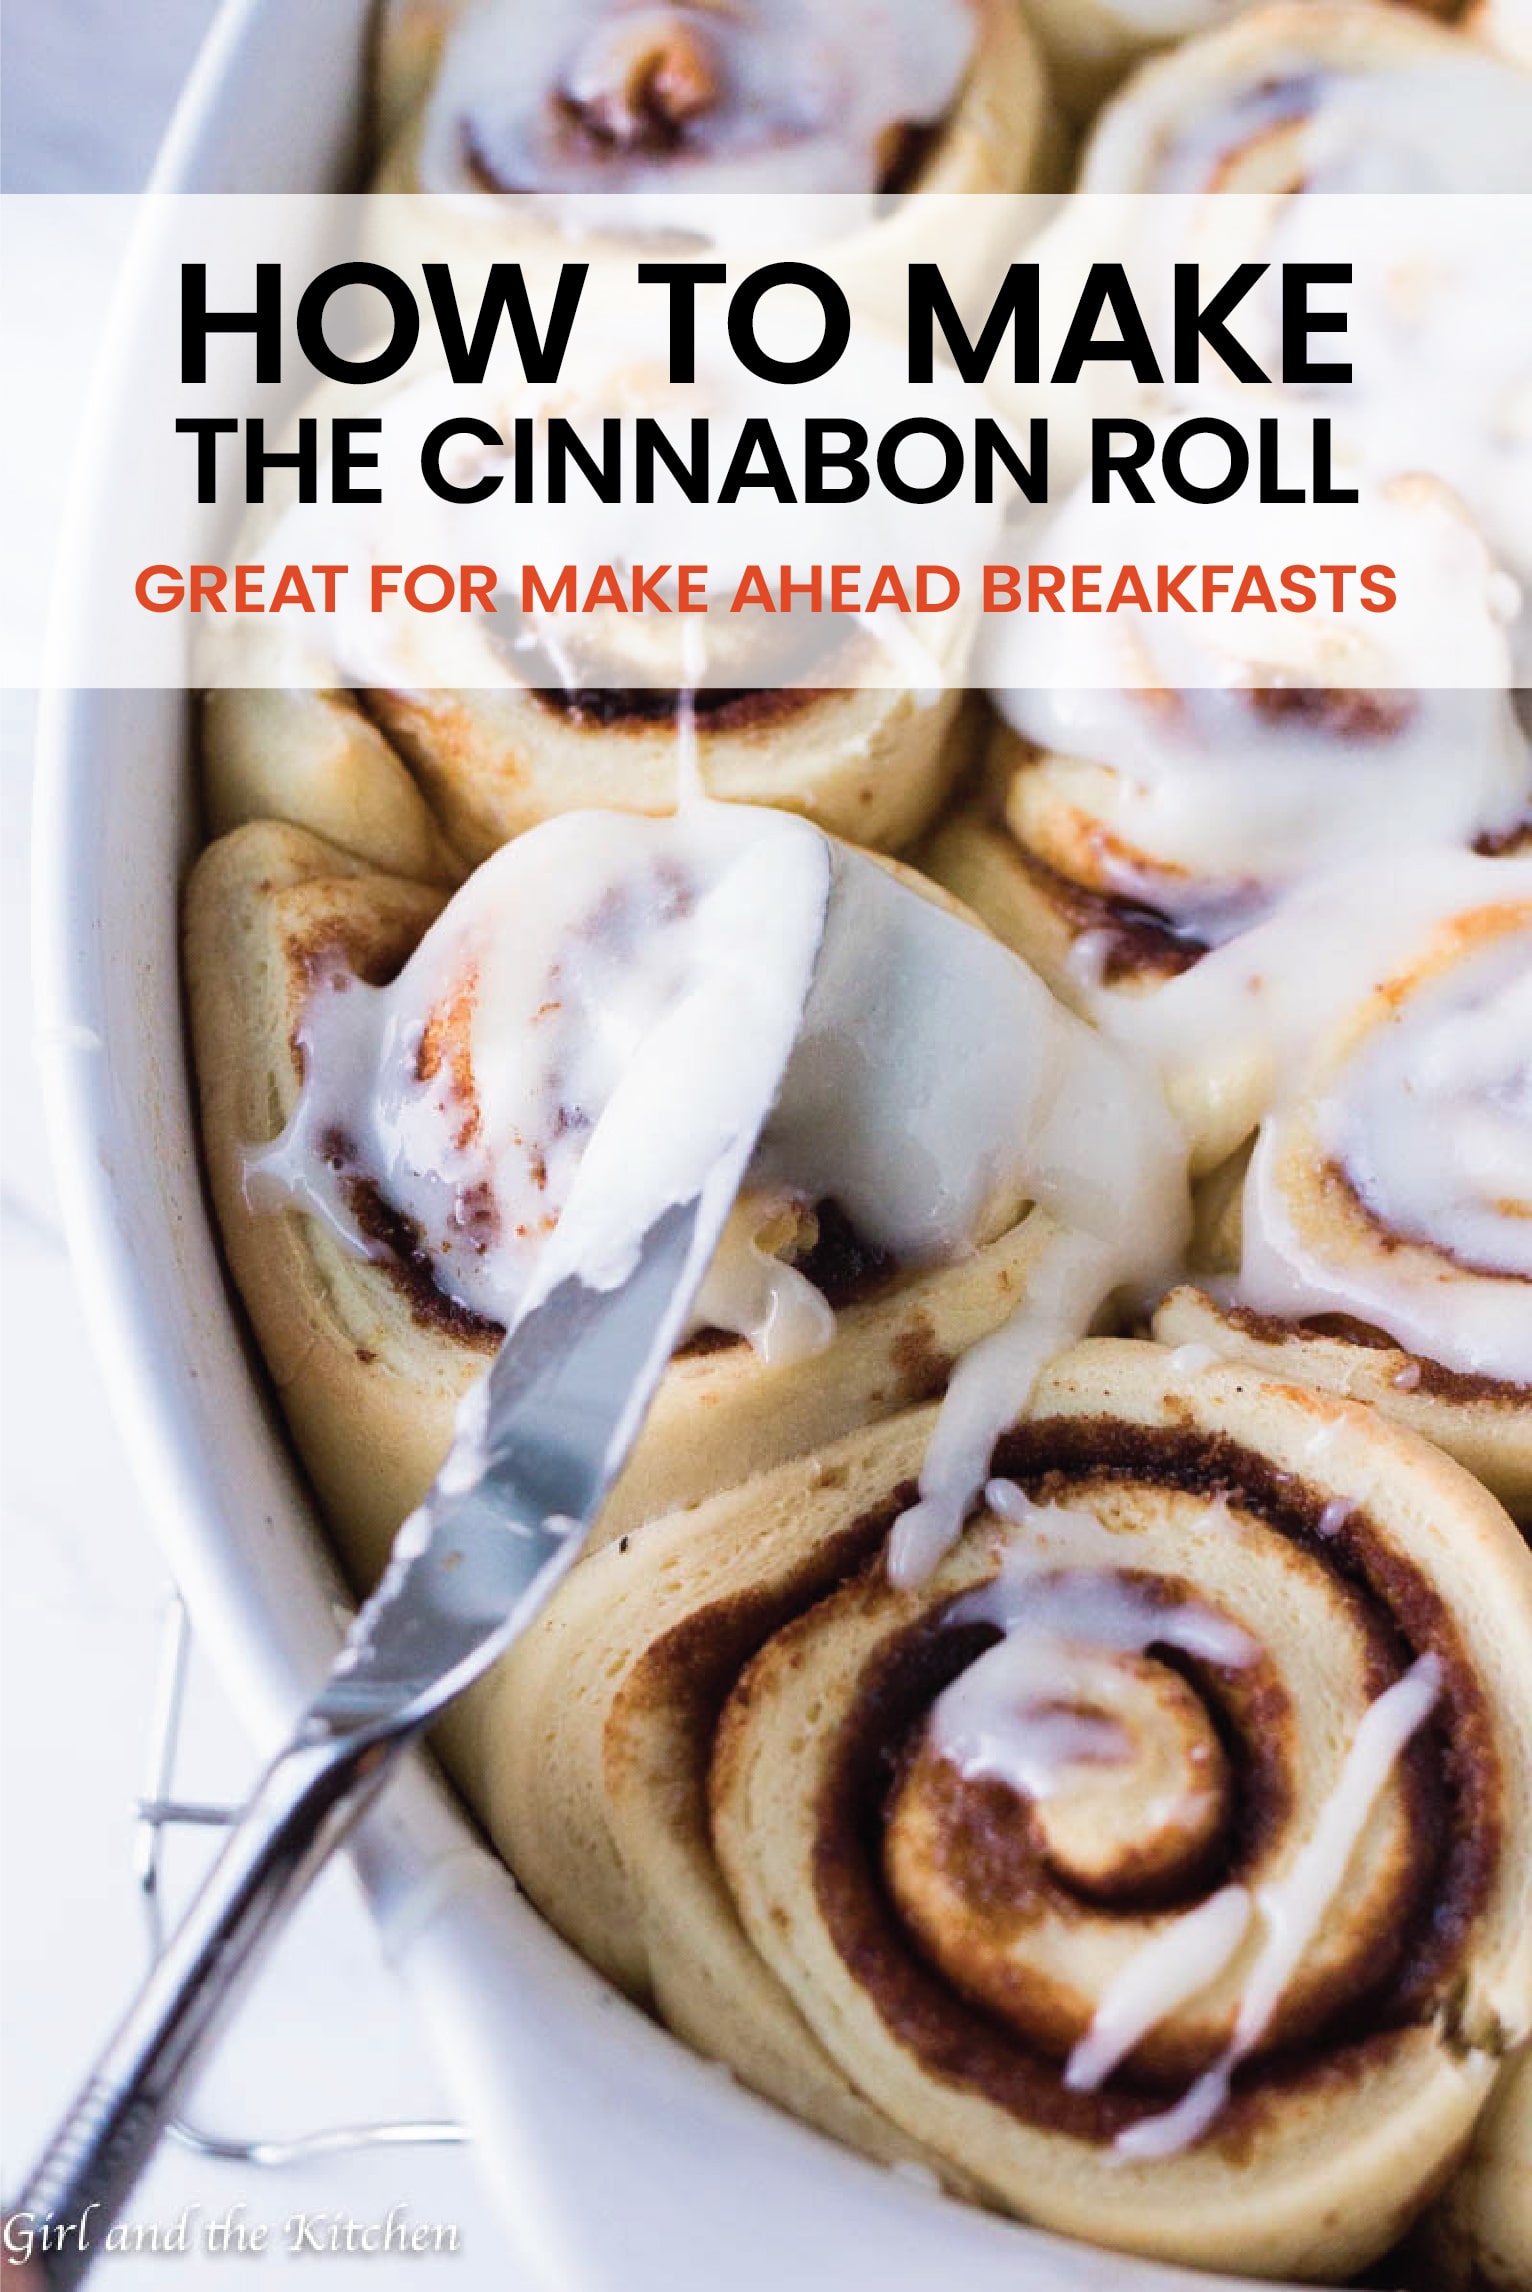
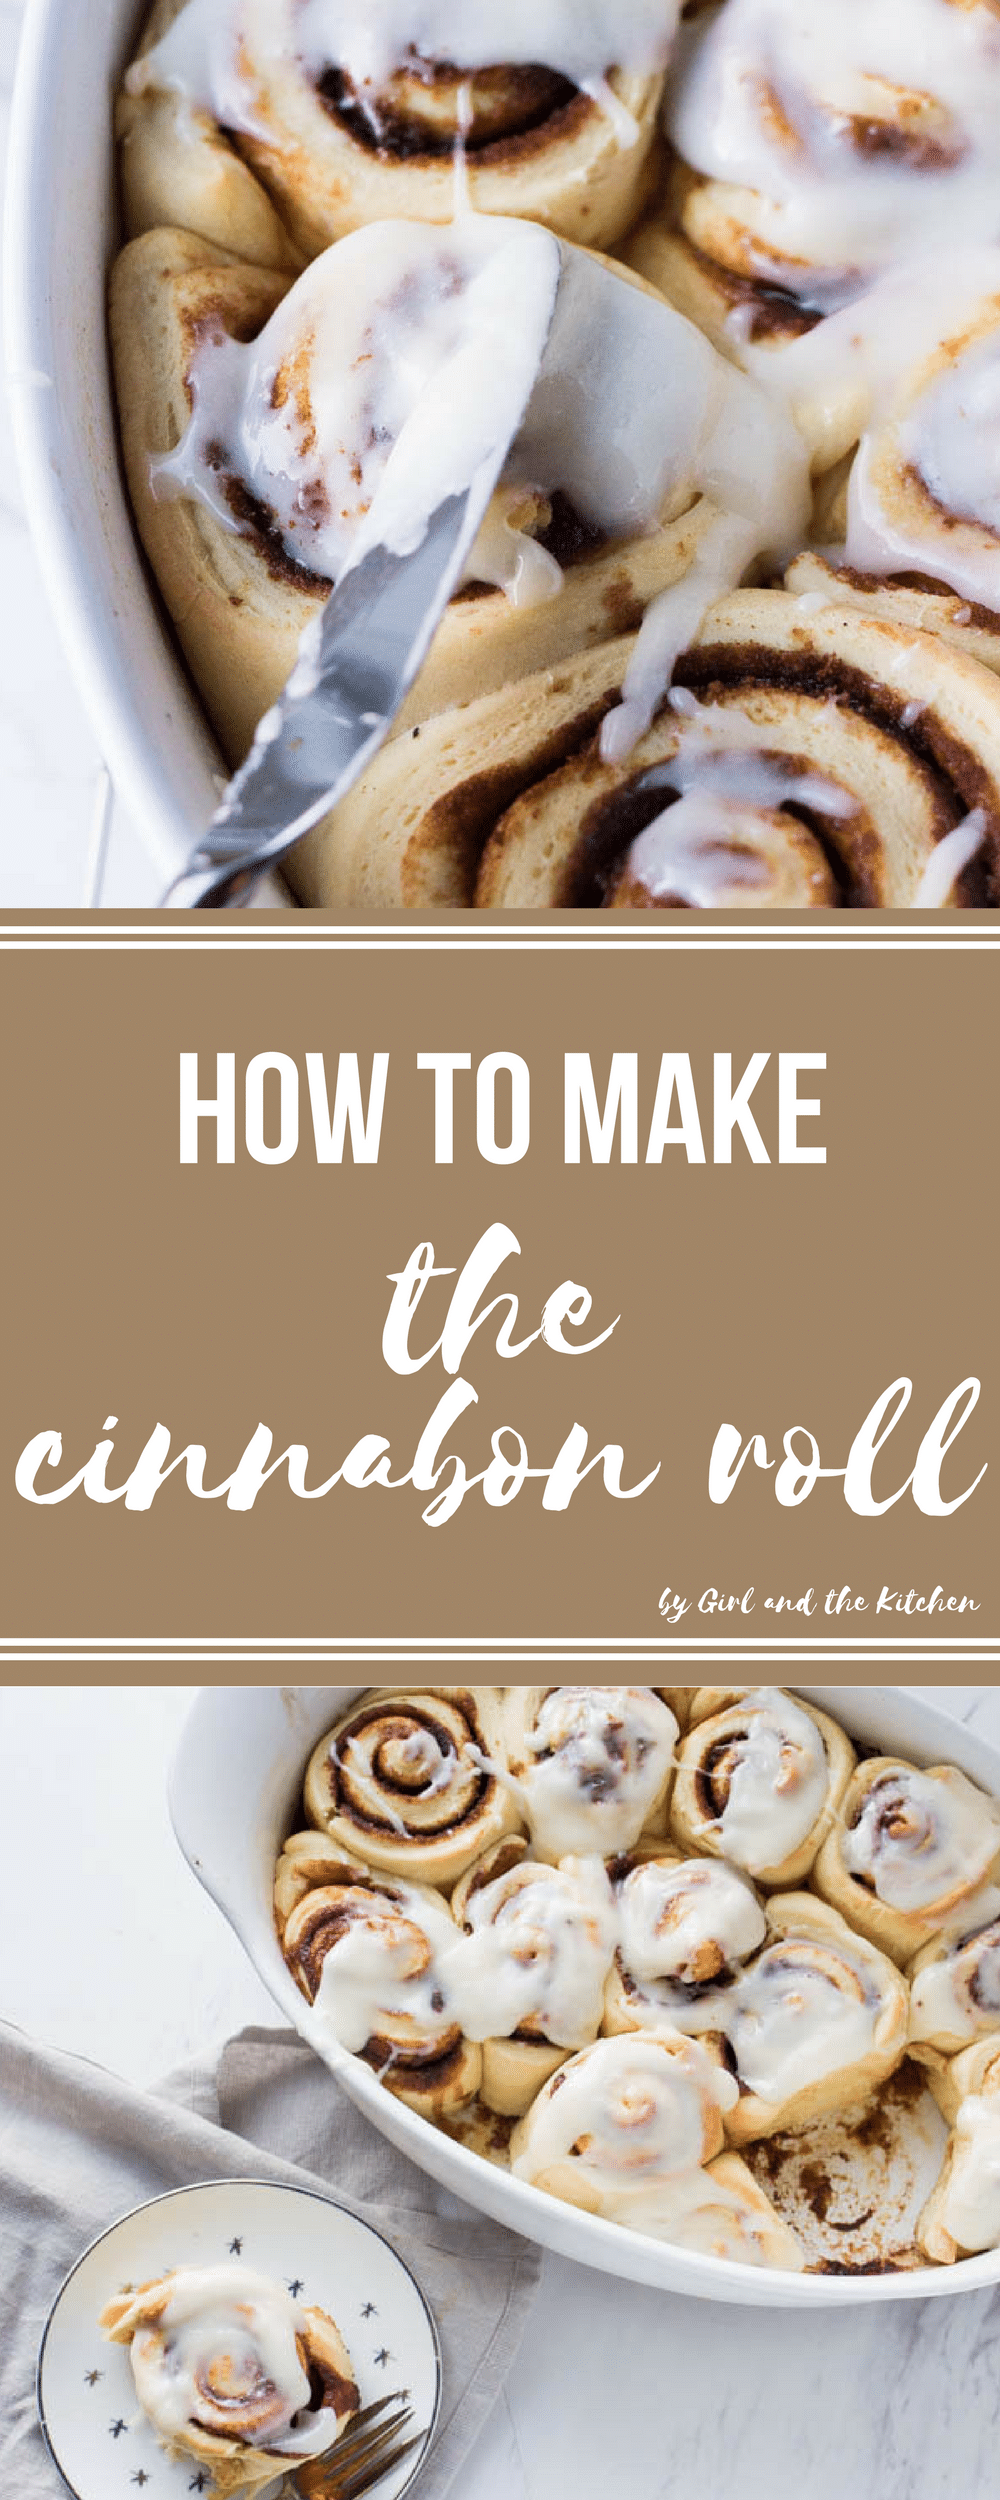
How to Make the Cinnabon Roll
Learn the secret behind the famous Cinnabon roll recipe and how easily it goes from the mixing bowl to the breakfast table.
Mmmmmmm Cinnabon.
If you have never had a Cinnabon, well I truly feel sorry for you…
When I was in high school, a couple of years back (wink, wink) my friends and I found ourselves spending our weekends at the mall. We went in search for the latest fashions, the newest restaurants and of course some stylish boys. However, one mall was always favorable over the others : Woodfield Mall was the preferred choice. There was a plethora of fashions and bargain finds… But most importantly there was an intoxicating smell that spread through the air like wildfire…
To describe it simply: it’s a yeast rolled dough with layers of cinnamon sugar. When it bakes, it transforms into a gooey, sticky and tender goodness. The Cinnabon is one of the few foods that has forever left its fingerprints on my taste buds. Back in the days of high school I was a bit dramatic and one of my favorite performances occurred in the Cinnabon shop.
My friends and I would purchase a Cinnabon…we would sit down to eat it and then the drama began. I began to make these noises that can only be described as shrieks of pleasure that occur from other acts.. Ahem. I’m sure you catch my drift. In a matter of minutes, my friends were on the floor laughing, the store’s customers had fled and my Cinnabon was only a stack of gooey crumbs, that I ended up licking off the plate.
As an adult I have avoided the Cinnabon store like the plague. Unable to refuse the deliciousness that is the Cinnabon, I actually dash past the store when in site of it, so I am not tempted to walk in. Still, the curious little scientist in me always wondered… What is it about these cinnamon puffs that makes them so unforgettably irresistible???
A couple of weeks ago the Cinnabon was featured on a television special. And so as I watched them sprinkle on the cinnamon sugar and slather on the icing, I thought, hey I can do this! I have mentioned several times that I am not the best baker… But something in me gripped me and told me to give this a go. I researched this recipe endlessly, trying to find tips, tricks and the secrets. All in the goal of finding how to make the Cinnabon roll.
After three attempts I perfected it… My friend and I baked these one night on a whim and I am actually terrified to say how much we ate! Lets just say, only one lonely Cinnabon stared back at us at the end of the night. We looked at these beauties and were in awe that they came from our own hands! They were incredibly light and oh so very delicious! a treat for the eyes and the belly! My Cinnabon experience was recreated, only this time, I was not the only one moaning!!!
So ladies and gentlemen I give you my secrets on how to make the Cinnabon roll recipe:
The Technique
1. The spread that goes on the dough has to be butter. No coconut oil no coconut butter. Real butter. Yes we use a lot of butter in this recipe… But my philosophy is… If you are going to bake.. Then bake right.. Cut the calories somewhere else… Leave the dessert alone.
2. These buns do NOT need to have color on them when they come out of the oven. These bake for 18-20 minutes… NO MORE. This will ensure a chewy not crispy dough.
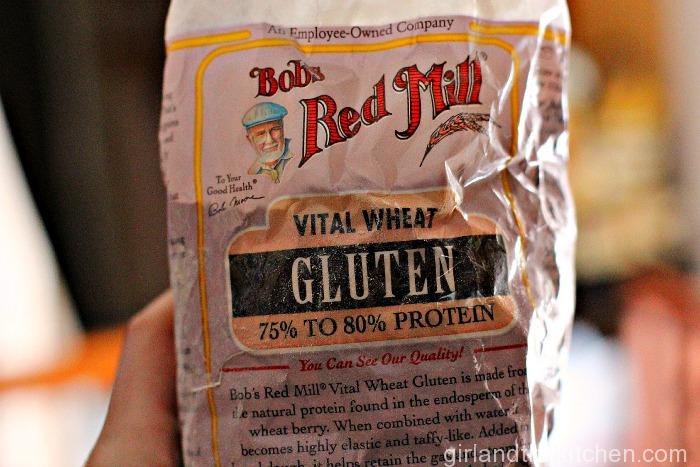
3. An ingredient that I found indispensable was vital wheat gluten. Gluten is the protein in flour that makes dough elastic. (The more the dough is worked the more elastic it becomes. ) Vital wheat gluten is purely this gluten without the starch… It gives the dough its chewy texture… And trust me… A little goes a long way.
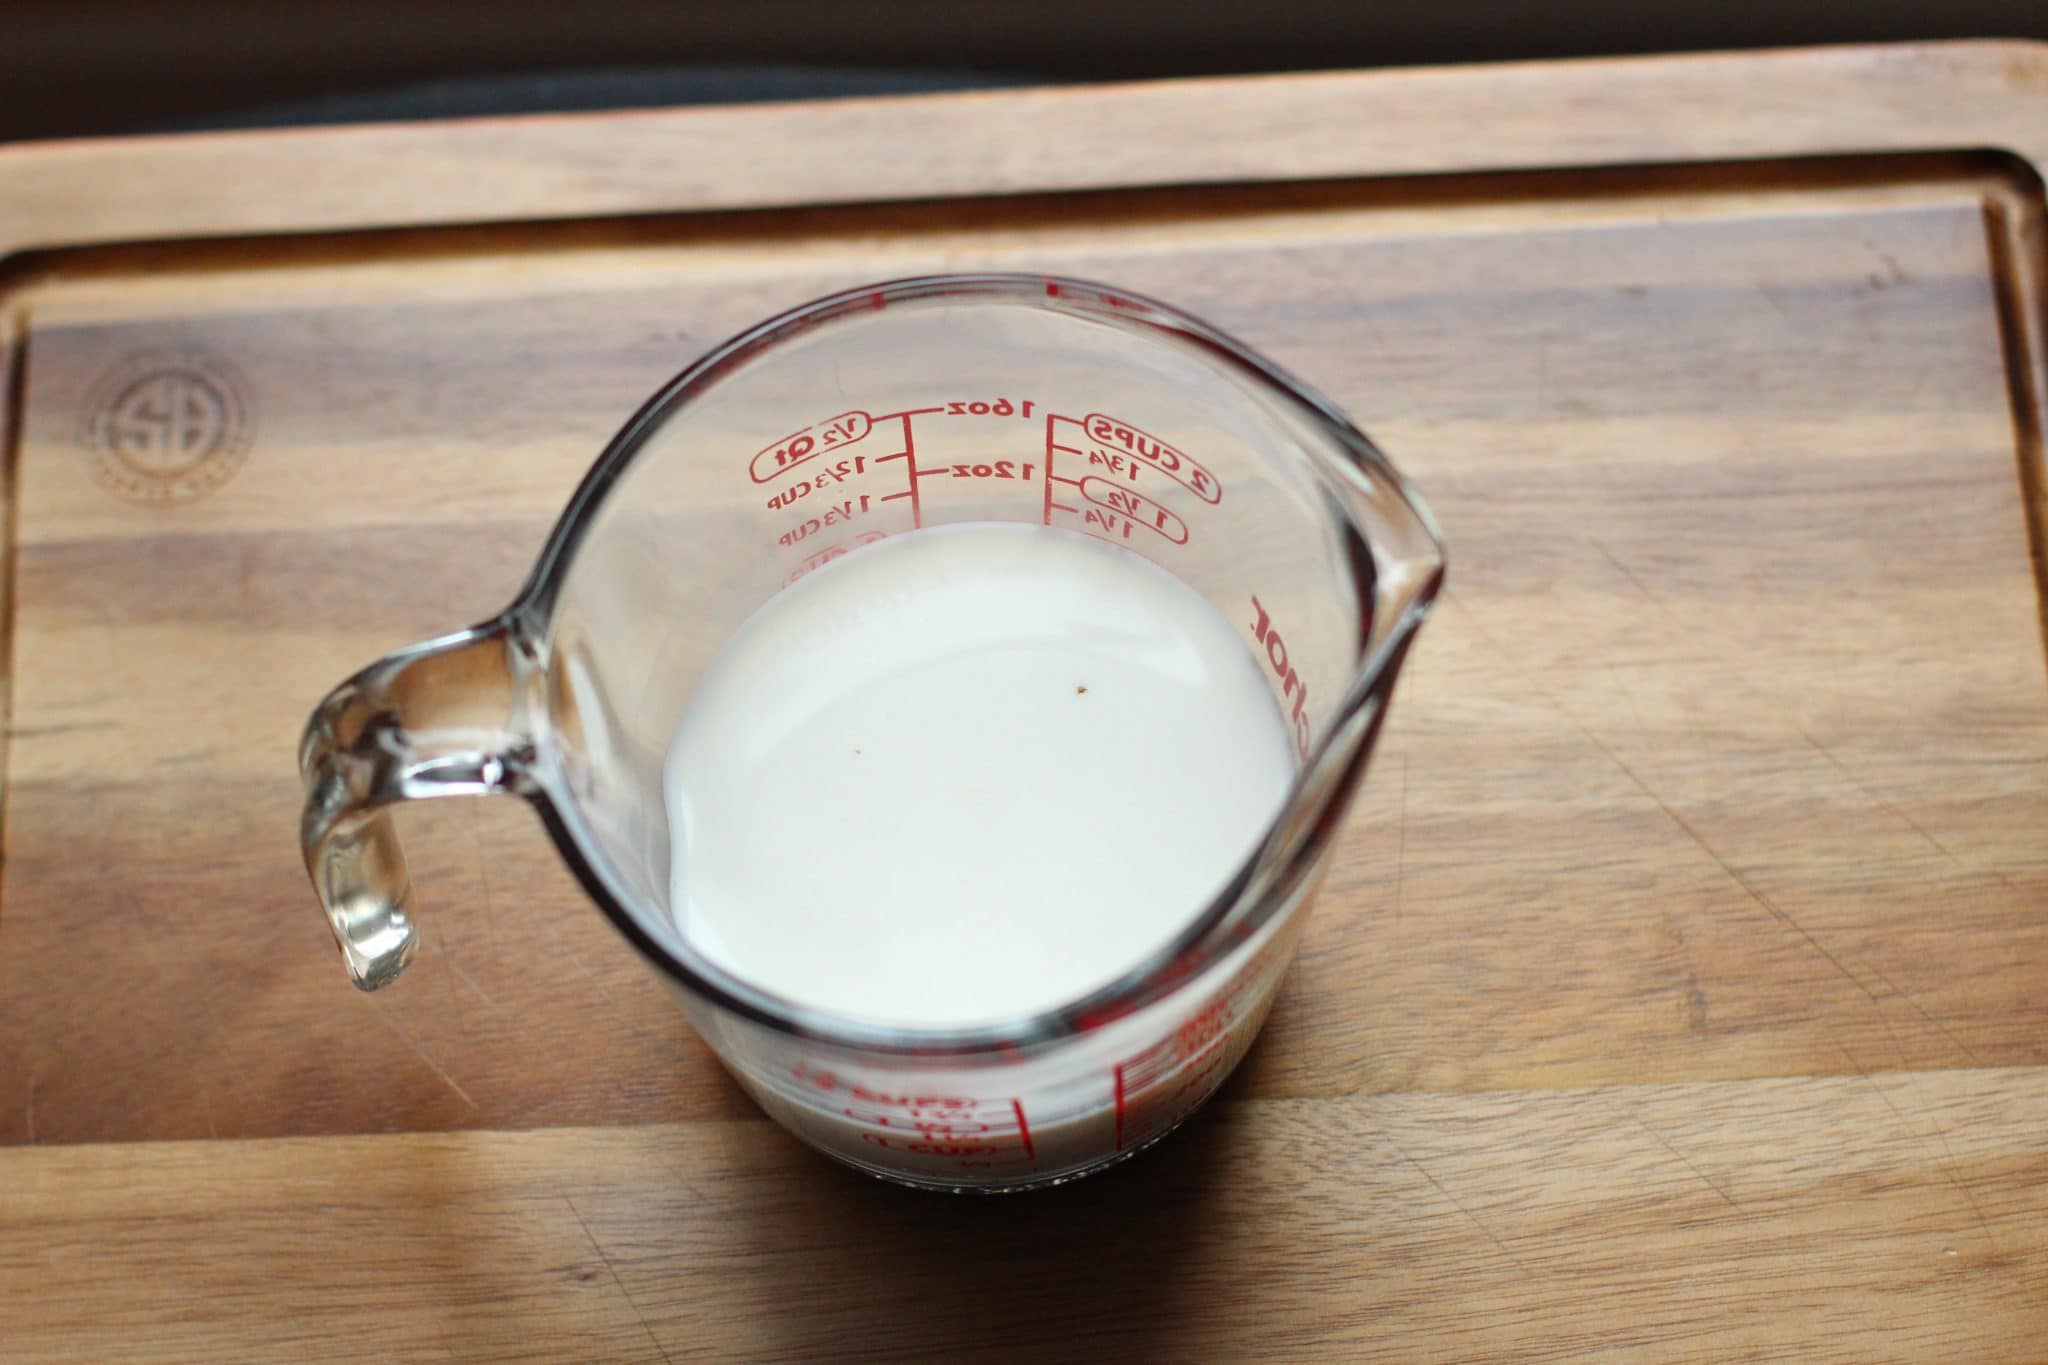
 4. Time and patience are key with this recipe. No your dough will most likely not be perfect the first time and if it is… The rolls may not be perfect. But I promise the things I had to figure out on my own, I have already explained in these tips! So trust me… You are already in much better shape than I was. First microwave your milk for 45 to 60 seconds… it should not be hot but very warm to the touch.
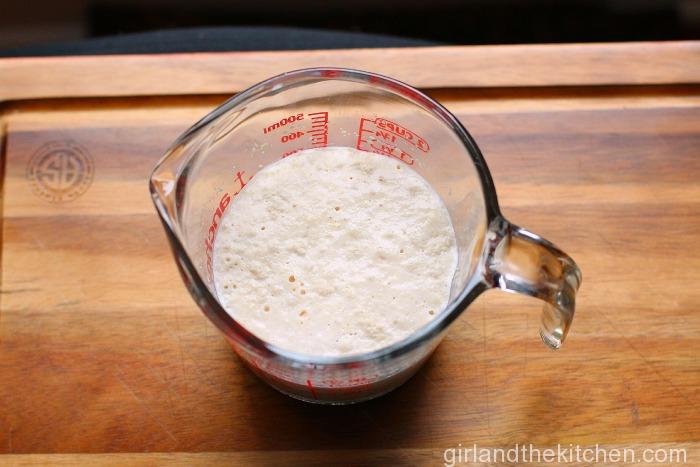
Add yeast to the milk with a tablespoon of sugar. Stir to combine. Let rest for 5 minutes. It should look like this once done. Nice and foamy.
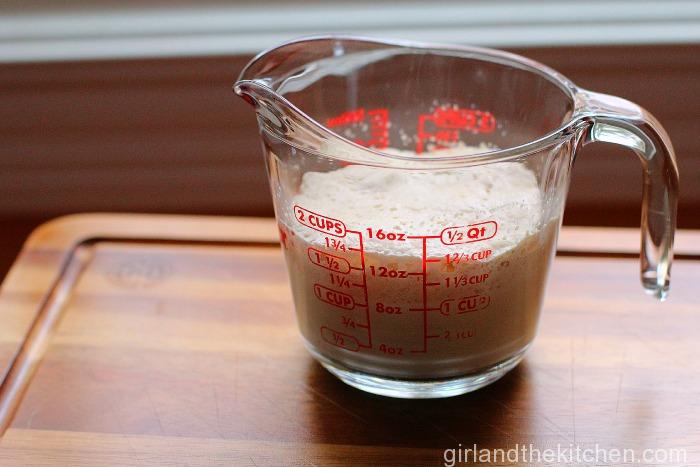
The mixture will continue to rise. See, it has risen to 1.75 cups. That’s good! It means your yeast is nice and fresh! By the way! Store your yeast in the freezer to keep it uber fresh! If the yeast did not rise start again. Your water may be too hot or your yeast may be dead, check the expiration date on the yeast.
Place butter, salt, eggs and milk mixture into a mixer with the dough hook attachment. Mix to combine. Add flour and wheat gluten in.
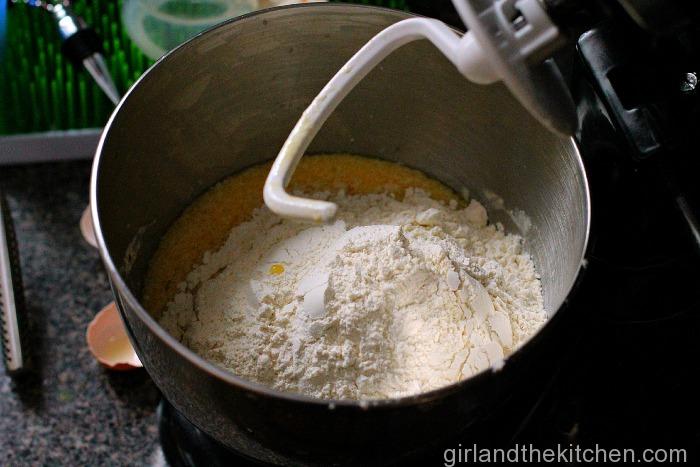
Knead with dough hook for approximately 5 minutes. If you are using a food processor instead. Add your dry ingredients first and then add your wet ingredients on top. The dough will come together in seconds not minutes. It takes a mere 40 seconds or less in a food processor. If allowed to mix longer, dough looses its elasticity and becomes wet and sticky, even with the addition of more flour. Over-kneaded dough cannot be rescued.
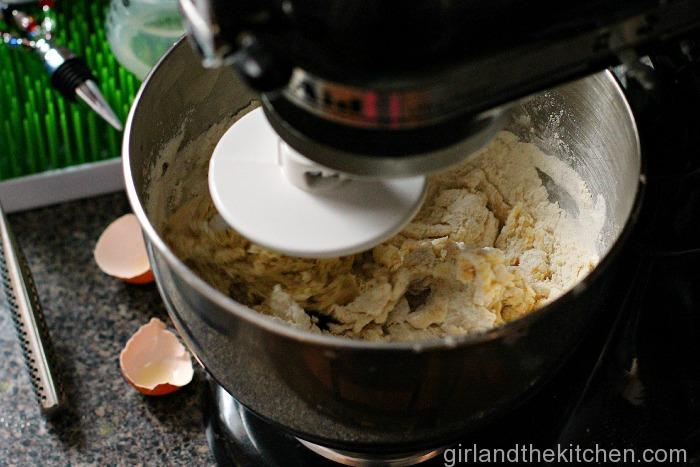
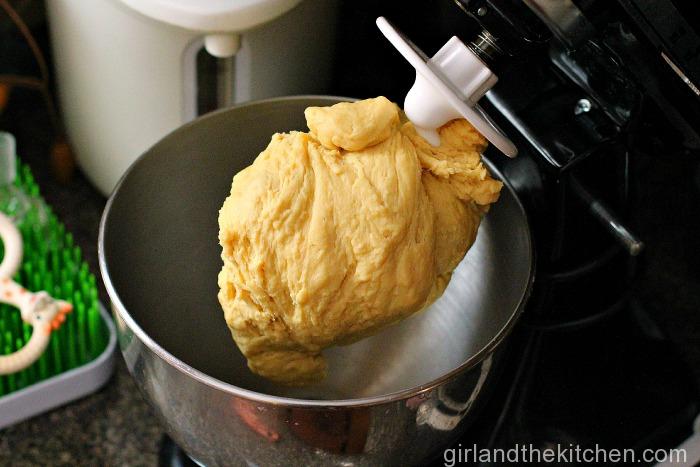
Take a piece and test it. Dough should stretch a bit before tearing when pulled apart.

That looks right.
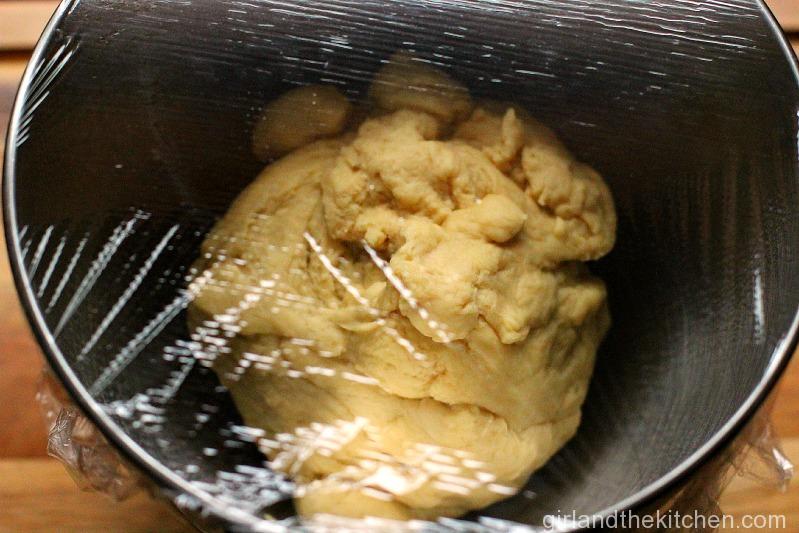
Lightly grease a bowl and place the ball of dough inside and cover with plastic wrap. For the perfect proof box (a place for the dough to rise.) place a cup of water into the microwave for 1.5 minutes. Remove the water and place the bowl with the dough inside. The steam and warmth created in the microwave is the perfect environment for the dough to rise. If microwave is not available, place by a warm area, like on top of a preheated oven. Let rise for one hour or until doubled in size.
After an hour.

While the dough rises, combine brown sugar and cinnamon in a bowl, set aside.
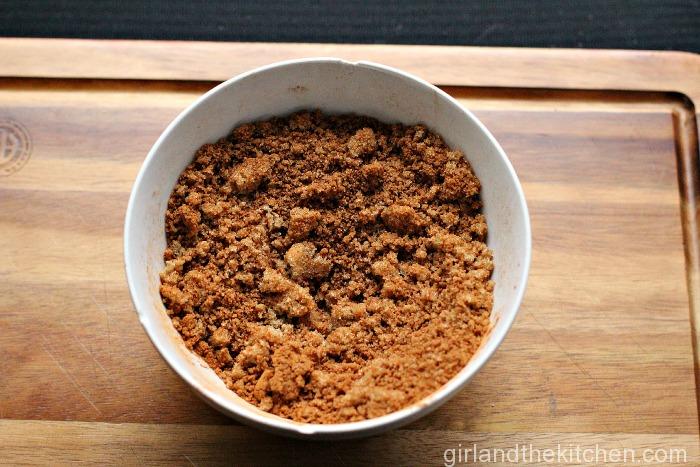
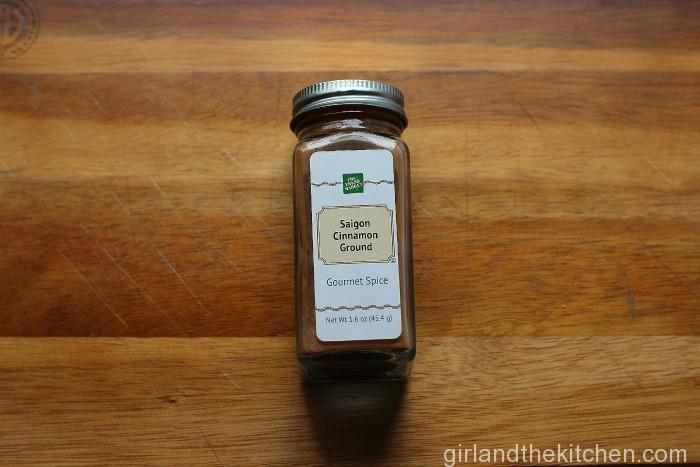
FYI I only use Saigon cinnamon. It has a much different flavor profile. Costco has it in gigantic bottles if that’s what you are going for.
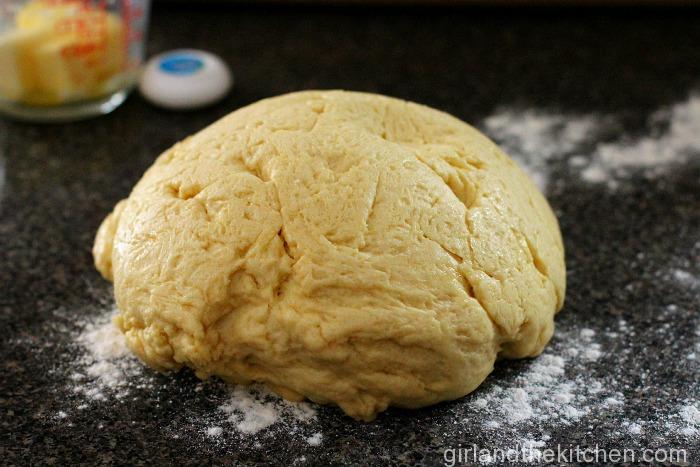
Once the dough has risen, remove the dough and place on a floured board. See how pretty and spongy it looks. That’s what you want.
Roll out to a large rectangle, about 16×21 inches or 1/4 inches thick. I did not do a very good job and you will see in why it is so important when you have to roll it up.

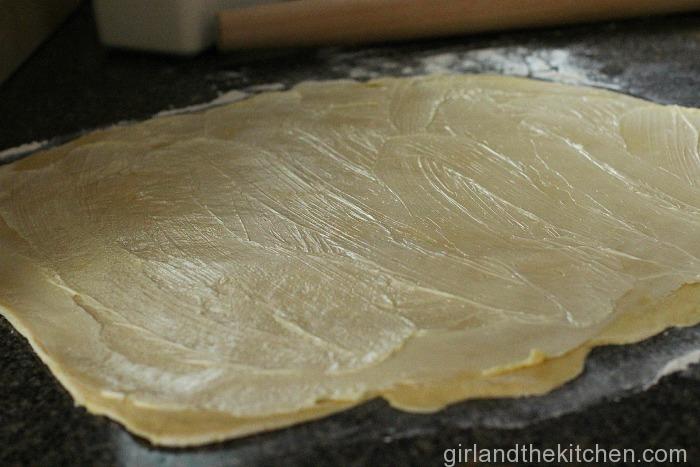
Place the butter into pieces all over the dough.
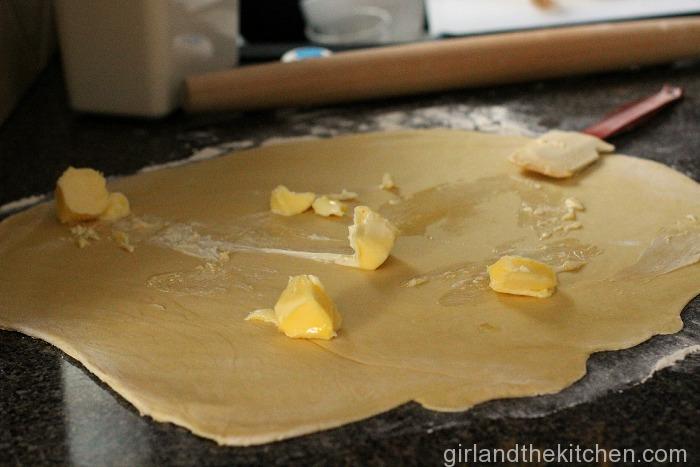
Spread the butter on the dough making sure to cover all the nooks and crannies.
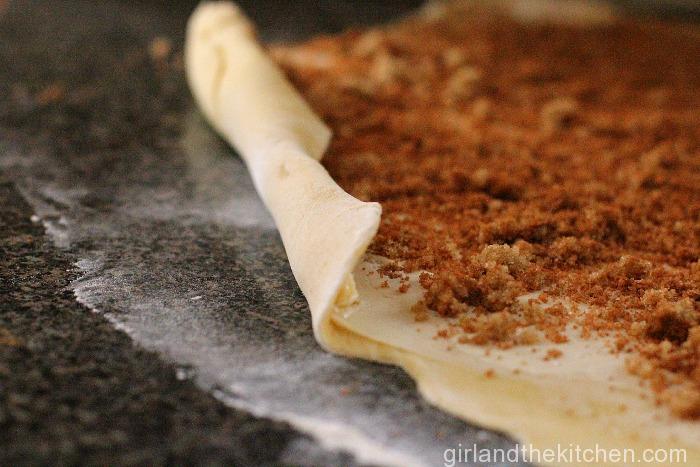
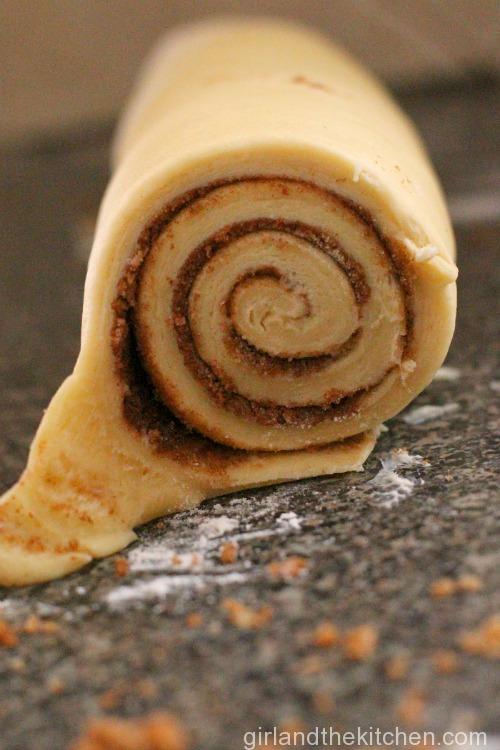
Next, sprinkle the rolled, buttered dough evenly with the cinnamon mixture

The next step is optional. I did not do it last two times and they turned out uber gooey. It’s your choice. With the rolling pin, gently roll the cinnamon sugar into the filling and the dough. Start rolling the dough. Be patient, keep the roll tight
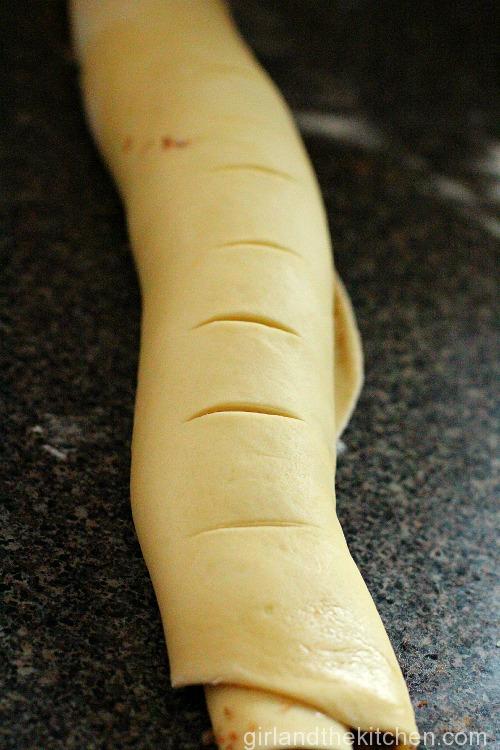
You see how the end is a bit less tight than the rest of it? That’s because I did not make a perfect square. They will still taste good, just not as pretty.
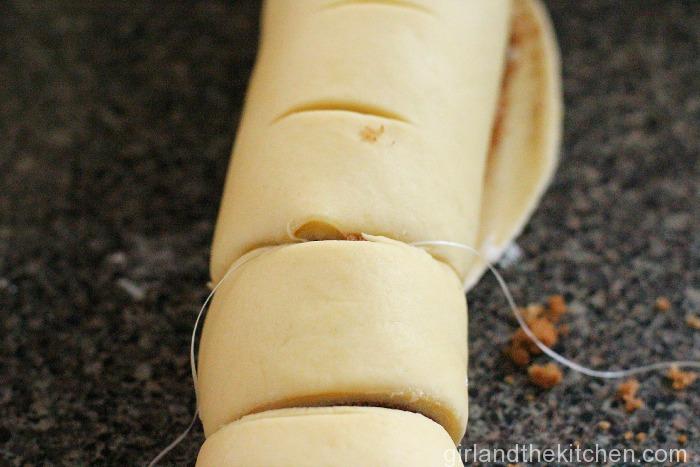
Mark the dough with a knife. You should get 12 huge rolls.
Take floss or twine and cut the roll on the marked lines. A knife will squish the buns.
In order to do this: Slide the floss underneath the roll where the line is. Cross it.
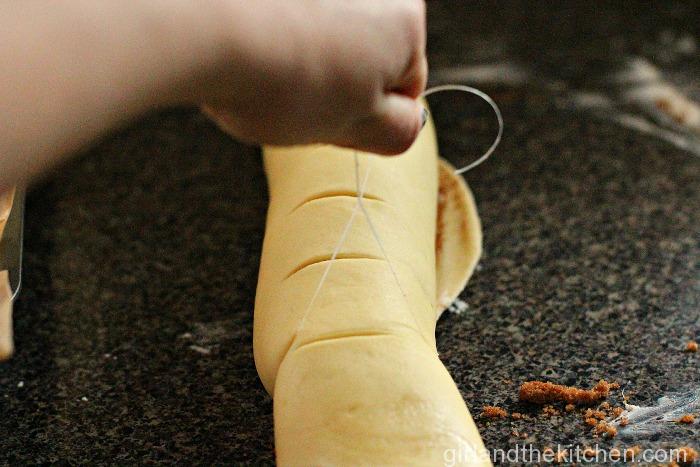
And pull down.
Perfection 🙂
Place on a baking sheet with tall sides, covered with parchment paper and allow to rise covered in a warm place for 20 minutes. MAKE AHEAD TIP! After they have risen you can actually freeze them! Then pop them in the oven when you need them!

Preheat oven to 350- degrees.
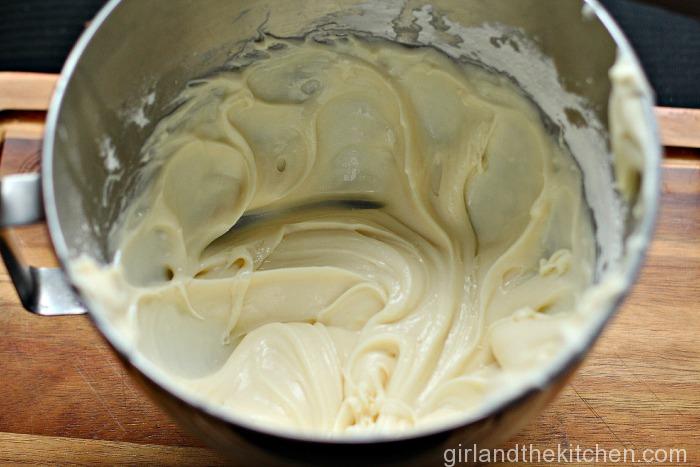
In the meantime make your icing. Combine powdered sugar, butter, vanilla, lemon juice and cream cheese with a paddle attachment until fluffy and combined; two minutes.
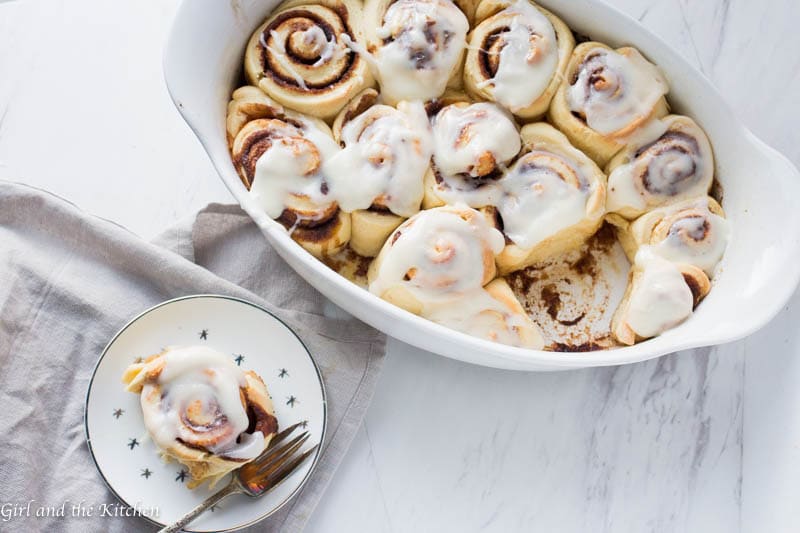
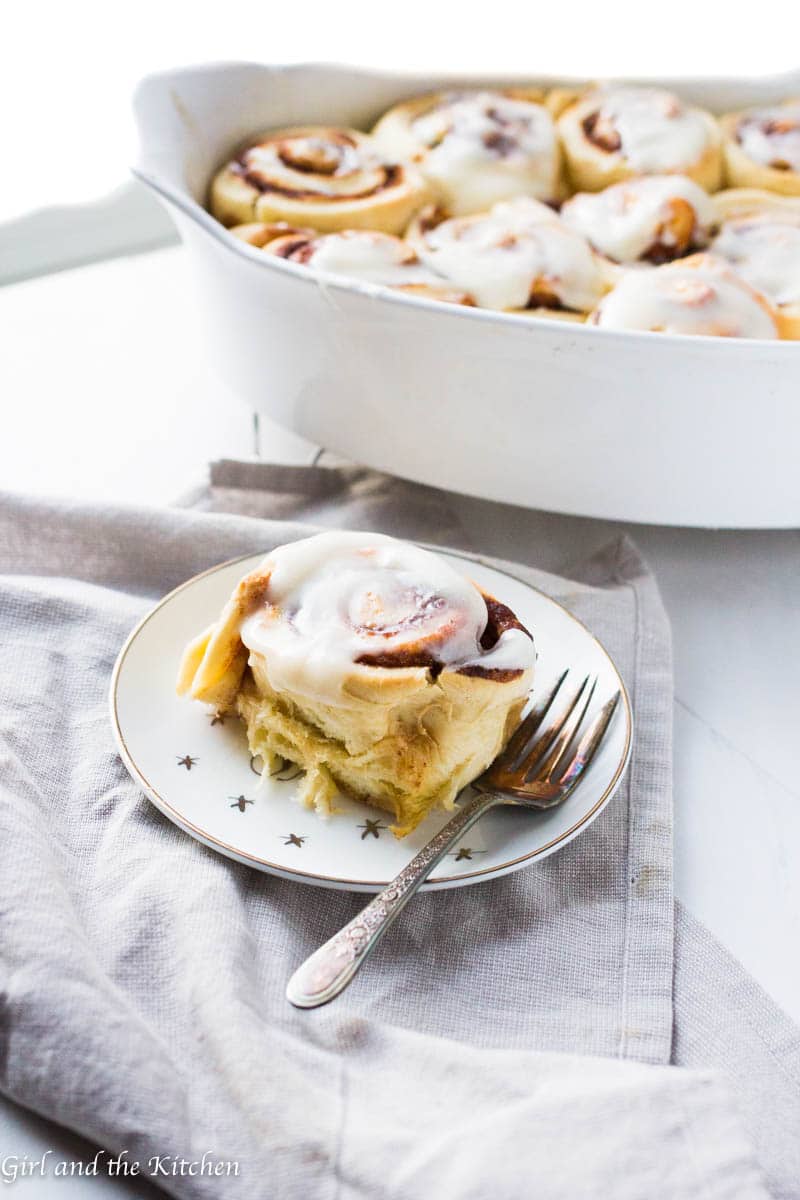
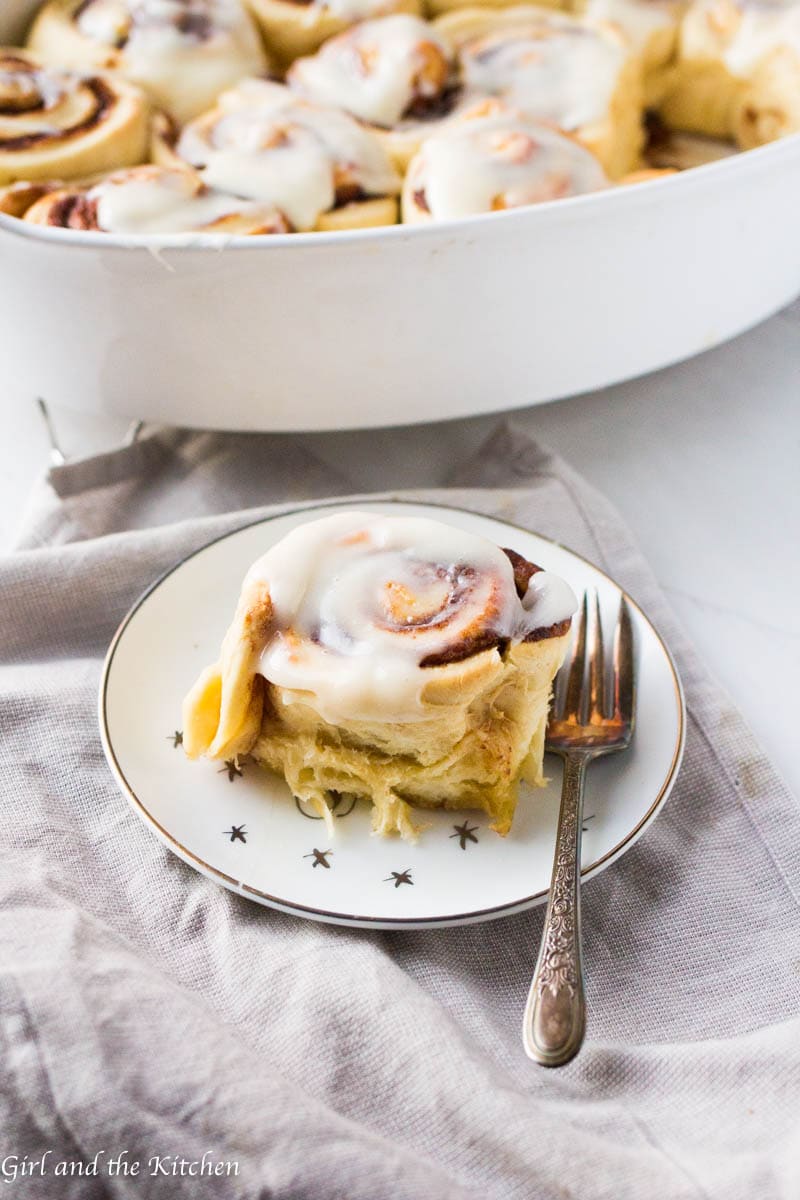
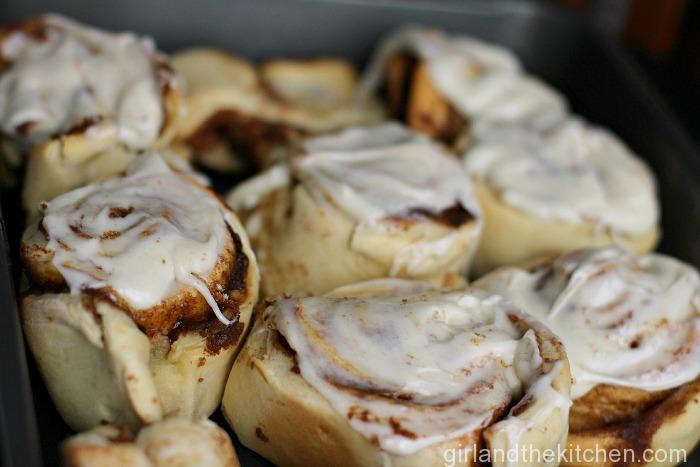
Once the buns have risen, place them into the oven for 18-20 minutes, or until cooked through but do not have any color on them.

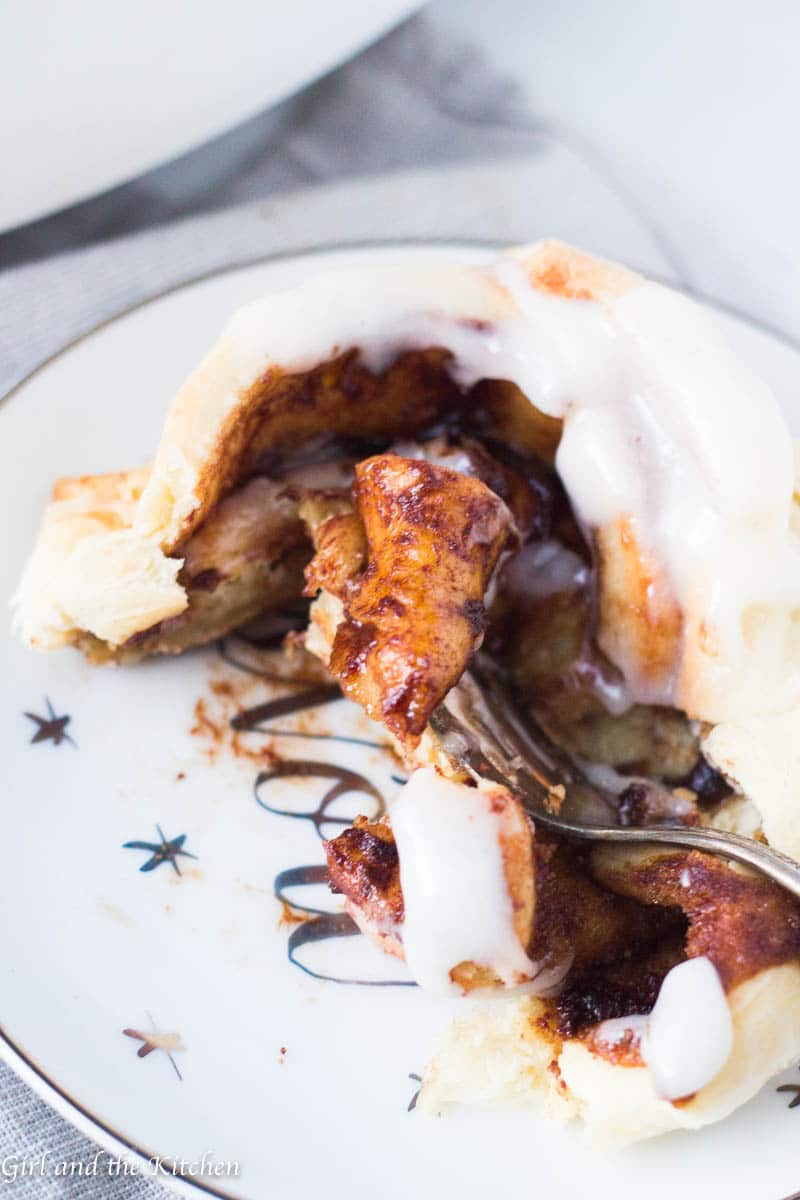
Slather with frosting and enjoy!
PS…you can totally nuke these for 30 seconds and they will taste just like the came out of the oven. Great for make ahead breakfasts!


Learn the secret behind the famous Cinnabon roll recipe and how easily it goes from the mixing bowl to the breakfast table.
- Total Time: 40 minutes
- Yield: 12 1x
Description
Learn the secret behind the famous Cinnabon roll recipe and how easily it goes from the mixing bowl to the breakfast table.
Ingredients
For the dough
- 1 cup warm milk
- 2 eggs (room temperature)
- 1/3 cup butter (melted)
- 4 1/2 cups all purpose flour
- 1 teaspoon salt
- 1/3 cup white sugar
- 1 package yeast (1/4 ounce)
- 1 tablespoon vital wheat gluten
For the filling
- 1 cup dark brown sugar (packed)
- 3 tablespoons ground cinnamon
- 1 stick of butter softened
For the icing
- 8 oz cream cheese (softened)
- 2 cups confectioners’ sugar
- 1/2 teaspoon vanilla extract
- 1/2 teaspoon lemon juice
Instructions
- First microwave your milk for 45 to 60 seconds… it should not be hot but very warm to the touch.
- Add yeast to the milk with a tablespoon of sugar. Stir to combine. Let rest for 5 minutes. It should look nice and foamy.
- The mixture will continue to rise. See, it has risen to 1.75 cups. That’s good! It means your yeast is nice and fresh! By the way! Store your yeast in the freezer to keep it uber fresh! If the yeast did not rise start again. Your water may be too hot or your yeast may be dead, check the expiration date on the yeast.
- Place butter, salt, eggs and milk mixture into a mixer with the dough hook attachment. Mix to combine. Add flour, salt, sugar and wheat gluten in.
- Knead with dough hook on high for approximately 5 minutes.
- If you are using a food processor instead. Add your dry ingredients first and then add your wet ingredients on top. The dough will come together in seconds not minutes. It takes a mere 40 seconds or less in a food processor. If allowed to mix longer, dough looses its elasticity and becomes wet and sticky, even with the addition of more flour. Over-kneaded dough cannot be rescued.
- Take a piece and test it. Dough should stretch a bit before tearing when pulled apart.
- Lightly grease a bowl and place the ball of dough inside and cover with plastic wrap. For the perfect proof box (a place for the dough to rise.) place a cup of water into the microwave for 1.5 minutes. Remove the water and place the bowl with the dough inside. The steam and warmth created in the microwave is the perfect environment for the dough to rise. If microwave is not available, place by a warm area, like on top of a preheated oven. Let rise for one hour or until doubled in size.
- While the dough rises, combine brown sugar and cinnamon in a bowl, set aside.
- Once the dough has risen, remove the dough and place on a floured board.
- Roll out to a large rectangle, about 16×21 inches or 1/4 inches thick. I did not do a very good job and you will see in why it is so important when you have to roll it up.
- Place the butter into pieces all over the dough.
- Spread the butter on the dough making sure to cover all the nooks and crannies.
- Next, sprinkle the rolled, buttered dough evenly with the cinnamon mixture
- The next step is optional. I did not do it last two times and they turned out uber gooey. It’s your choice. With the rolling pin, gently roll the cinnamon sugar into the filling and the dough.
- Start rolling the dough. Be patient, keep the roll tight
- Mark the dough with a knife. You should get 12 huge rolls.
- Take floss or twine and cut the roll on the marked lines. A knife will squish the buns.
- In order to do this: Slide the floss underneath the roll where the line is. Cross it.
- And pull down.
- Place rolls on a baking sheet with tall sides, covered with parchment paper and allow to rise covered in a warm place for 20 minutes.
- MAKE AHEAD TIP! After they have risen you can actually freeze them! Then pop them in the oven when you need them!
- Preheat oven to 350- degrees.
- In the meantime make your icing. Combine powdered sugar, butter, vanilla, lemon juice and cream cheese with a paddle attachment until fluffy and combined; two minutes.
- Once the buns have risen, place them into the oven for 18-20 minutes, or until cooked through but do not have any color on them.
- Slather with frosting and enjoy!
- PS…you can totally nuke these for 30 seconds and they will taste just like the came out of the oven. Great for make ahead breakfasts!
- Prep Time: 20 minutes
- Cook Time: 20 minutes
- Category: Breakfast, Dessert
- Cuisine: American


Oh Oh Oh…cinnabons are my weakness, and it takes every ounce of my willpower to walk by there in the mall. These look amazing! And I love your philosophy of baking right, and leaving the dessert alone! AMEN!
Thanks Amy!!! Yes YES YES! Cinnabons are sooo OH MY GOD!!!! When I made these I kid you not I devoured like 4.
Icing came out okay, but I followed the recipe exactly and ended up with crumbly, dry, yeasty tasting cinnamon buns that don’t at all resemble the wonder that is Cinnabon.™️
Hi Jess, it may have had to do with the quality of the yeast sadly. Yeast can be very tricky. Please let me know if there is anything else I can help with!